


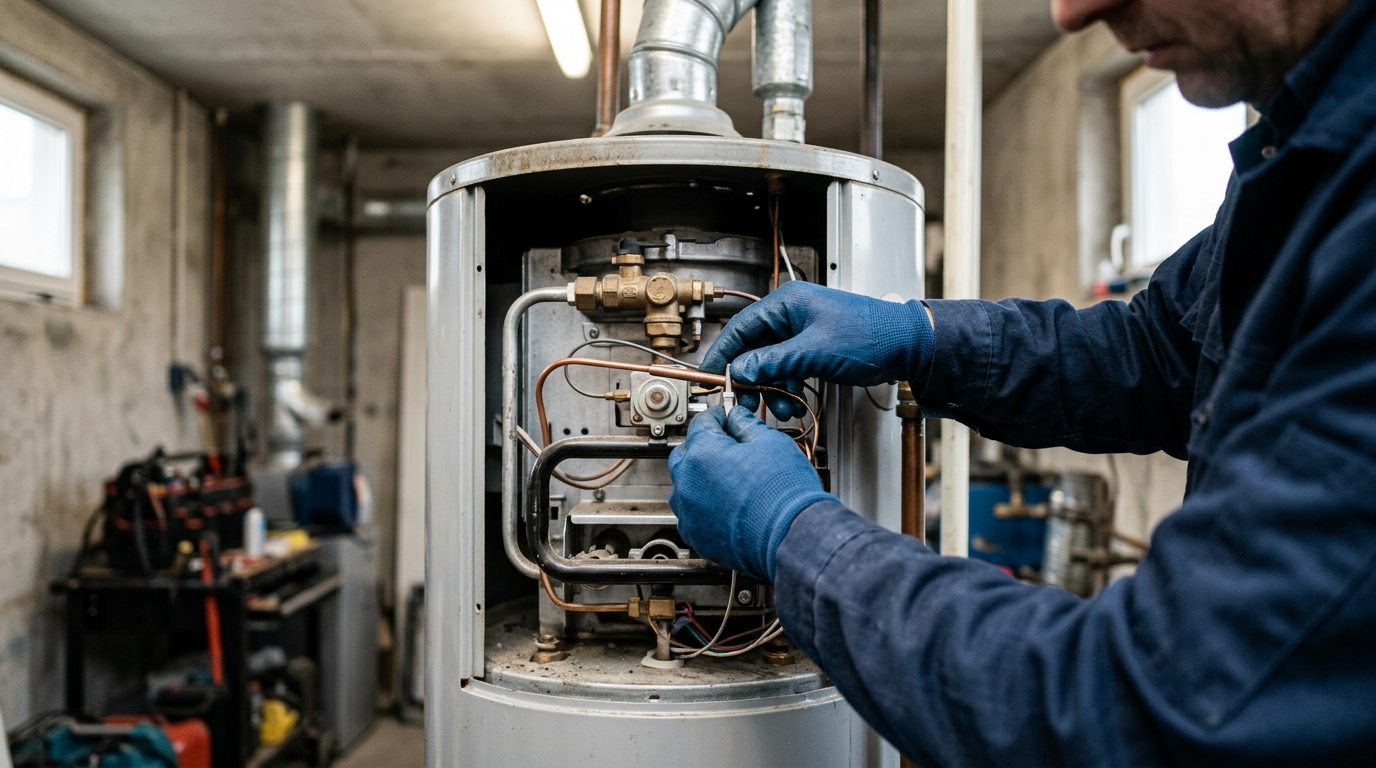
A pilot light that won’t stay lit ranks among the most frustrating gas appliance problems a homeowner can face. It’s worse when it means cold showers, or a furnace that refuses to fire up on the coldest night of the year. In most cases, the culprit is a small but essential safety sensor. The fix usually comes down to a thermocouple replacement that costs far less than a full appliance swap. This guide, brought to you by the energy efficiency specialists at Big Star Conservation INC., walks you through the warning signs, what a professional repair involves, and realistic 2026 pricing. Because the thermocouple is part of a gas appliance’s safety shutoff, the repair itself belongs with a licensed plumber or HVAC technician, not a do-it-yourself project.
How a Thermocouple Keeps Your Gas Appliances Safe
The Role of the Pilot Light Safety System
Every gas water heater or furnace with a standing pilot relies on a simple safety idea. If the flame goes out, gas flow must stop immediately. This prevents raw gas from filling your home. The thermocouple is the sensor that makes this happen automatically, with no electricity needed.
The tip of the thermocouple sits directly in the pilot flame. As long as that flame burns, the sensor stays hot. The moment it cools, even by a few degrees, the safety system reacts within seconds. This split-second response has prevented countless gas leaks in homes across the country for decades.
How Millivoltage Controls Gas Flow
Heat striking the thermocouple’s tip generates a tiny electrical charge, usually between 20 and 30 millivolts. That current travels through a copper wire to an electromagnet inside the gas valve. The magnet’s pull holds the valve open, letting gas reach the pilot and main burner.
When the pilot flame dies, millivoltage drops fast. The magnet loses power within about 30 to 60 seconds, and the valve snaps shut. No flame means no gas. This closed-loop system needs no batteries or wiring to your home’s electrical panel — just heat converted directly into a controlling current.
Why This Small Part Matters for Energy Bills
A worn thermocouple often causes a pilot to relight repeatedly or shut off during cold spells. That wastes gas and strains your heating system. Reliable pilot operation keeps appliances running efficiently, much like the benefits of insulating your attic reduce strain on your furnace overall.
Pairing proper appliance maintenance with air sealing throughout your home creates a more complete efficiency picture. Small, inexpensive parts like this one directly affect comfort, safety, and monthly utility costs.
Signs You Need a Thermocouple Replacement
Pilot Light Keeps Going Out
The clearest warning sign is simple. Your pilot light won’t stay lit, no matter how many times you relight it. A healthy thermocouple senses the flame and holds the gas valve open. A worn one loses that grip within seconds or minutes. This forces homeowners to relight the pilot daily, sometimes hourly, which wastes time and signals a part nearing failure.
Flame Color and Shape Changes
Flame appearance tells a story worth reading. A properly working system produces a strong, steady flame around the sensing rod. Watch for these warning signs:
- The pilot flame looks weak, small, or barely visible instead of a firm blue cone.
- The flame flickers or wavers even when there’s no draft nearby.
- The color shifts to yellow or orange rather than a crisp blue.
- The flame doesn’t fully wrap around the thermocouple tip as it should.
- Soot buildup appears near the pilot assembly, hinting at incomplete combustion.
Appliance Won’t Reach Temperature
A failing thermocouple can also disrupt performance. Furnaces may short-cycle, turning on and off repeatedly without warming the home. Water heaters may deliver lukewarm water instead of hot. These issues often overlap with rising utility bills, especially given the cost of electricity in louisiana homeowners already manage. Poor attic insulation can mask these symptoms, so rule out both causes before assuming the part is at fault.
Thermocouple vs. Thermopile vs. Flame Sensor
Homeowners often mix up these three parts. Each does a similar job but works differently. Knowing the difference helps you understand a technician’s diagnosis and quote.
Voltage Output Differences
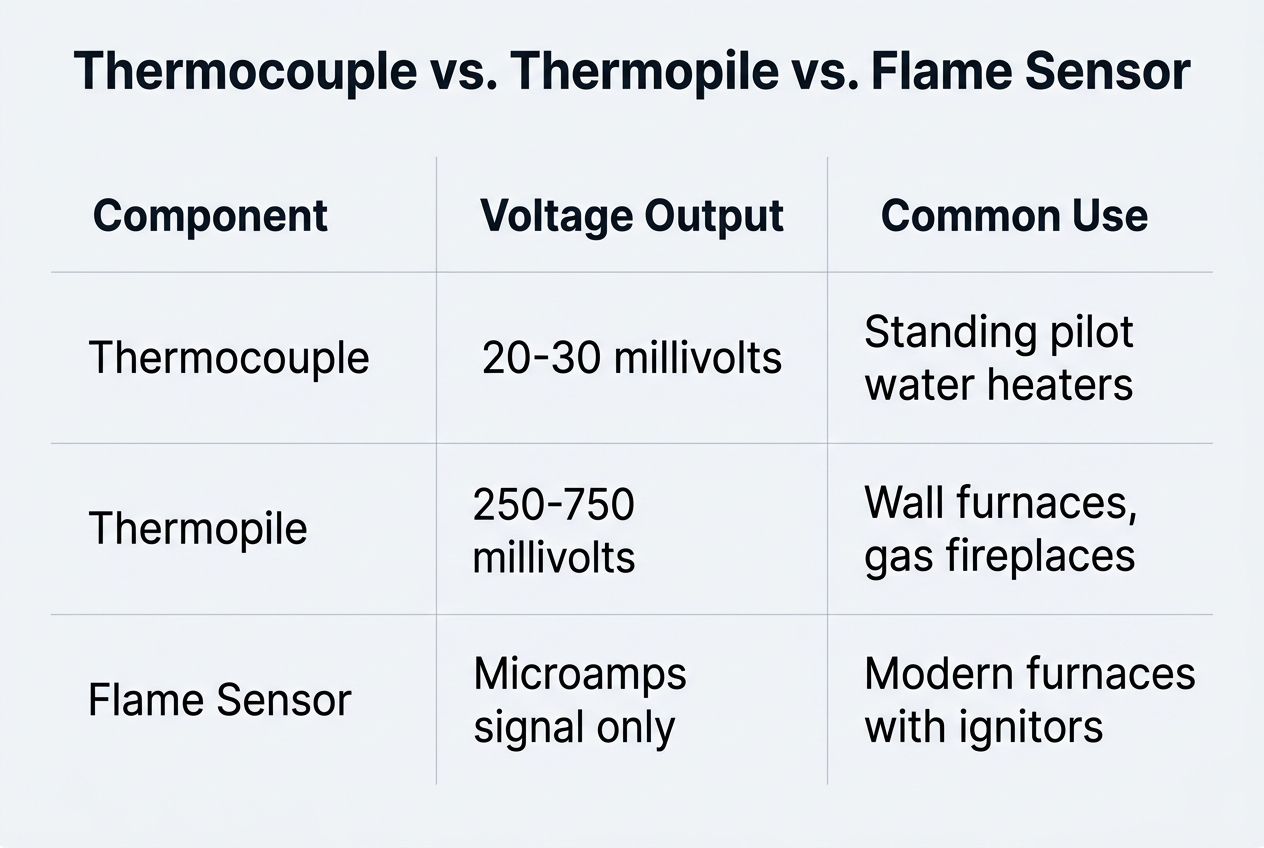
The biggest difference is voltage output. A thermocouple produces a small signal, usually around 20-30 millivolts. A thermopile stacks several thermocouples together and produces 250-750 millivolts, enough to power a thermostat or fan control. A flame sensor produces no real voltage. It only proves flame presence to an electronic control board using a tiny microamp signal.
| Part | Typical Voltage | Common Appliance | Repair Complexity |
|---|---|---|---|
| Thermocouple | 20-30 mV | Standing pilot water heaters, wall heaters | Low |
| Thermopile | 250-750 mV | Furnaces with millivolt thermostats | Moderate |
| Flame Sensor | Microamps only | Modern furnaces, ignition control boards | Moderate to High |
Which Appliances Use Which Sensor
Older gas water heaters and space heaters typically rely on a simple thermocouple. Furnaces with millivolt-style thermostats often use a thermopile instead. Newer furnaces with electronic ignition usually depend on a flame sensor connected to a circuit board.
Identifying Your Part Before Buying
Your owner’s manual or the appliance’s rating plate shows which sensor your model uses, and a technician will confirm it before ordering a part. The wrong part can cause pilot failures, wasted gas, and an electricity bill too high for the comfort you’re actually getting.
Why Thermocouple Replacement Is a Job for a Licensed Pro
The Part Is Small, the Risk Is Not
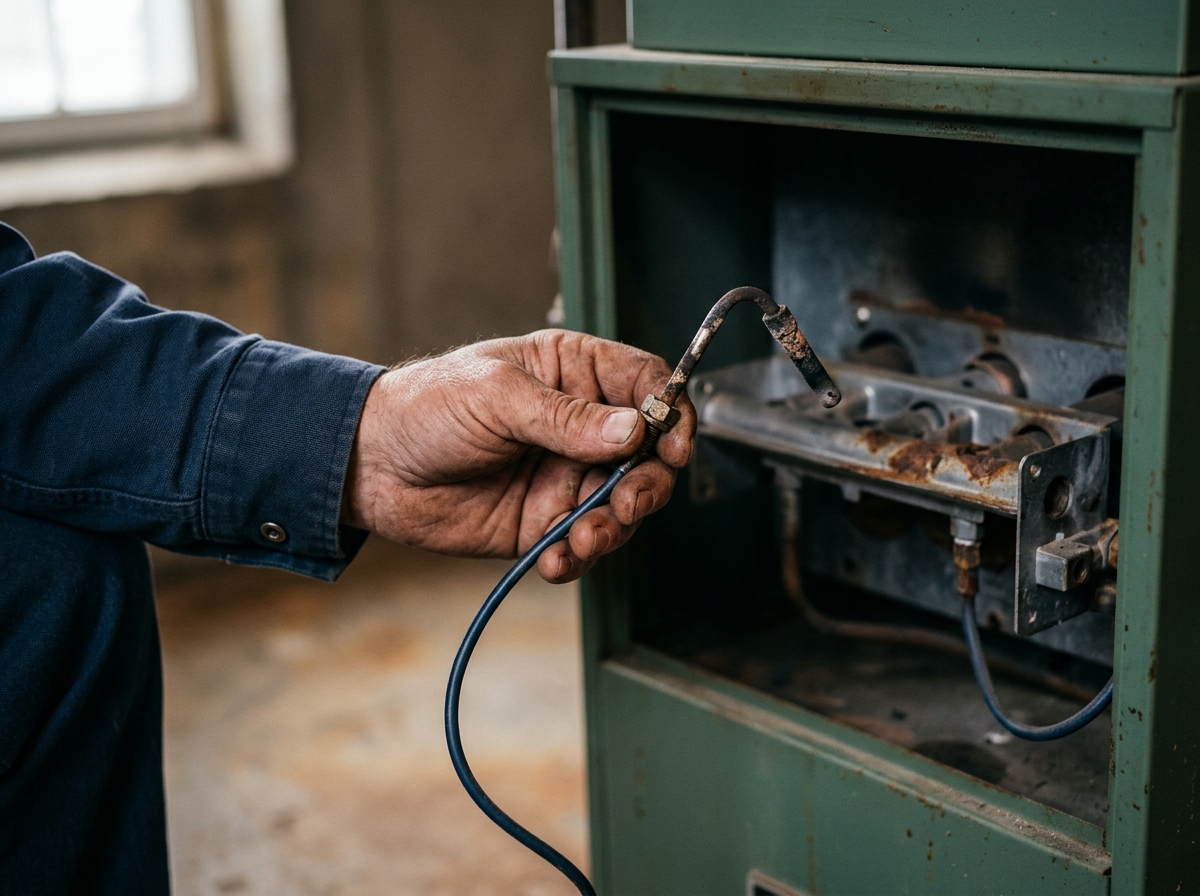
A thermocouple is the sensor that tells the gas valve to shut off when the pilot goes out. A loose fitting, the wrong part, or a probe that sits outside the flame can leave that safety system unable to do its job. The U.S. Consumer Product Safety Commission advises never servicing fuel-burning appliances without the proper knowledge, skill, and tools, and having heating systems professionally inspected and serviced every year. For a gas water heater, furnace, boiler, or wall heater, that means a licensed plumber or HVAC technician.
Finding the Correct Replacement Model
Not every thermocouple fits every appliance. Length, thread size, and connector type all have to match, and many newer furnaces use a thermopile or flame sensor instead. A technician matches the part to your model before installing it.
If You Smell Gas
If you smell gas (a rotten-egg odor), do not try to find the leak, and do not use a phone or anything else that could make a spark nearby. Leave the home right away, then call 911 and your gas utility’s emergency line from a safe distance outside.
What Happens During a Professional Thermocouple Replacement
Knowing the sequence helps you understand what a service call covers. It is not a checklist to follow at home. A licensed technician typically works through these stages:
| Stage | What the Technician Does | Why It Matters |
|---|---|---|
| 1. Shutoff | Turns the gas control off and lets the appliance cool | Keeps gas and heat away from the open pilot assembly |
| 2. Diagnosis | Confirms the thermocouple, not the gas valve or venting, is the fault | Avoids replacing a good part |
| 3. Installation | Fits a matching part with the tip positioned in the pilot flame | A misplaced probe fails again quickly |
| 4. Connection | Secures and checks the fitting at the gas valve | A poor connection can leak or drop out |
| 5. Testing | Relights the pilot following the manufacturer’s instructions and watches the flame | Confirms the valve holds and the flame burns correctly |
After the Repair
Before leaving, a good technician checks flame color and venting, since backdrafting and blocked flues can mimic thermocouple symptoms. If the home has recently had air sealing or insulation work, ask whether a combustion safety check makes sense.
When the Problem Goes Beyond the Thermocouple
Complex Furnace and Boiler Systems
A simple water heater pilot assembly is one thing. A furnace or boiler with a sealed combustion chamber is another. These units often bury the thermocouple behind circuit boards, blowers, and safety switches. One wrong wire connection can disable a limit switch meant to prevent overheating. That’s a job for a trained technician, not a weekend project.
Gas line work inside these systems also carries real risk. Pressure settings, manifold connections, and venting all interact. A misaligned part can cause incomplete combustion long before you smell gas. Skill level matters more than confidence once multiple safety systems are involved.
Suspected Gas Leaks or Venting Issues
A hissing sound or rotten-egg odor near a gas appliance can mean a leak, so leave the home right away and call 911 and your gas utility from outside. Soot near a vent pipe points to a venting or combustion problem, and the appliance should not be used until a licensed technician confirms it is safe.
Backdrafting, cracked heat exchangers, and blocked flues often mimic thermocouple symptoms. A pilot that won’t stay lit could actually point to poor draft. Only a professional inspection can rule out these deeper causes with certainty.
Older Appliances Nearing End of Life
Appliances past 12-15 years old fail more often, and parts wear out together. Replacing one component rarely solves a pattern of repeat problems on aging equipment. Professional diagnostics catch failing valves or cracked burners before they cause another breakdown next month.
A technician can also advise whether repair still makes financial sense. Before scheduling any assessment, review a provider’s privacy policy to understand how your information is handled.
Comparing Repair Costs and Replacement Options
Parts Pricing Breakdown
A replacement part usually costs between $8 and $30. The part itself is cheap; most of the bill covers a technician’s time and a safe, tested connection on a gas appliance.
Professional Service Call Estimates
Hiring a technician adds labor charges on top of parts. Most service calls run $75 to $200, depending on your area and appliance type. You can read about the weatherization and combustion safety work Big Star Conservation does on the about us page.
The table below compares typical costs across common gas appliances.
| Appliance | Repair Cost | Full Replacement Cost | Typical Lifespan |
|---|---|---|---|
| Water Heater | $100–$250 | $900–$2,000 | 8–12 years |
| Furnace | $150–$300 | $2,500–$6,000 | 15–20 years |
| Gas Stove | $75–$150 | $500–$1,500 | 13–15 years |
Repair vs. Full Appliance Replacement
A single part rarely justifies buying a new appliance. But if your unit is near the end of its lifespan or needs frequent repairs, replacement often saves money long term. Consider full replacement when repair costs approach half the price of a new unit.
Thermocouple Replacement: What It Costs and How to Save Money
Average Price Ranges by Appliance Type
Cost depends heavily on the appliance. A basic water heater thermocouple typically runs $10 to $50 for parts, with total repair costs between $75 and $200 once labor is added. Furnace thermocouples cost slightly more to service, often $100 to $250, because access panels and gas line checks take extra time.
Gas fireplaces and wall heaters usually fall in the $80 to $150 range. Older or specialty units, like antique stoves or imported appliances, can push costs higher since replacement parts are harder to source. Always ask for a written estimate before work begins.
Factors That Affect Final Repair Cost
Several details influence the final bill. Appliance age matters, since discontinued models require custom-ordered parts. Accessibility also plays a role. A thermocouple tucked behind tight panels or in a cramped closet takes longer to reach, raising labor charges.
Diagnostic time adds cost too. If a technician must rule out a faulty gas valve or thermopile before confirming the real issue, expect an added service fee. Emergency or weekend calls typically carry a premium of $50 to $100 above standard rates.
Rebates and Assistance Programs Worth Checking
Many utility companies offer rebate programs for gas appliance repairs and efficiency upgrades, especially when a faulty thermocouple leads to a full water heater or furnace replacement. These programs can cover part of the cost for parts, labor, or new energy-efficient models. Income-qualified households may access free or reduced-cost weatherization assessments through regional partnerships.
Before scheduling a repair, check with your utility provider or a local weatherization program for current offers. You can also review available contacts to learn which assistance programs apply in your area.
Preventing Future Pilot Light and Sensor Problems
Cleaning Schedule for Pilot Assemblies
Dust and soot are the main enemies of pilot assemblies. Left alone, they coat the thermocouple tip and keep it from reading the flame’s heat correctly. Cleaning the pilot assembly and burner ports is part of a technician’s annual service, not a homeowner task, but you can cut down on buildup between visits.
- Keep the area around the water heater or furnace clear of lint, dust, and stored items.
- Vacuum the surrounding floor area monthly, since household dust often travels into open vents.
- Keep the appliance cabinet doors and access panels closed and in place.
- Note any yellow flame, soot, or a pilot that keeps going out, and tell the technician at the next visit.
- Book the annual service before heating season, so cleaning happens on a schedule instead of after a failure.
Recognizing Early Wear Before Failure
Watch for a flame that flickers yellow instead of steady blue. This often signals early sensor wear. A pilot that takes several tries to light also suggests aging parts. Catching these signs early avoids sudden appliance shutdowns during cold weather.
Benefits of Annual Appliance Tune-Ups
An annual inspection catches small issues before they become costly repairs. Many local businesses schedule this service each fall, right before heating season begins. Routine tune-ups protect both safety and long-term efficiency.
How Faulty Gas Appliances Impact Home Energy Efficiency
Hidden Energy Losses from Aging Appliances
A water heater that relights constantly, or a furnace with a weak pilot, wastes more gas than most homeowners realize. Each failed ignition attempt burns fuel without producing usable heat. Over a winter, that adds up to real dollars lost.
These losses hide behind a normal-looking bill. A homeowner might see a $30 monthly increase and blame the weather, never suspecting a $15 part. Small mechanical failures often carry a bigger financial cost than people expect.
What a Home Energy Assessment Reveals
A trained technician checks appliance performance alongside insulation, airflow, and building envelope issues. This wider view catches problems homeowners miss, like a furnace short-cycling or a water heater running longer than it should to reach set temperature.
Assessments often uncover related air leaks too. Many older homes lose conditioned air through gaps around ductwork, and pairing appliance checks with duct sealing can meaningfully cut monthly costs. The full picture matters more than any single fix.
Long-Term Savings from Proactive Upgrades
Fixing a faulty component now prevents bigger repair bills later. A $20 part replaced early often avoids a $1,200 furnace replacement down the road. That math favors quick action every time.
Many local businesses now schedule regular appliance checkups alongside broader energy audits. This proactive habit keeps systems running efficiently for years, protecting both comfort and budget. Consistent maintenance beats emergency repairs.
If your water heater or furnace is showing signs of a faulty thermocouple, have a licensed plumber or HVAC technician take care of it before it leaves you without hot water or heat. Once the appliance is running again, it’s worth knowing whether it vents safely and whether air leaks are driving up your bills. Big Star Conservation Inc. provides combustion safety checks, energy assessments, and weatherization services to homeowners across Louisiana and Mississippi, often at little to no cost thanks to partnerships with regional utility companies.
