


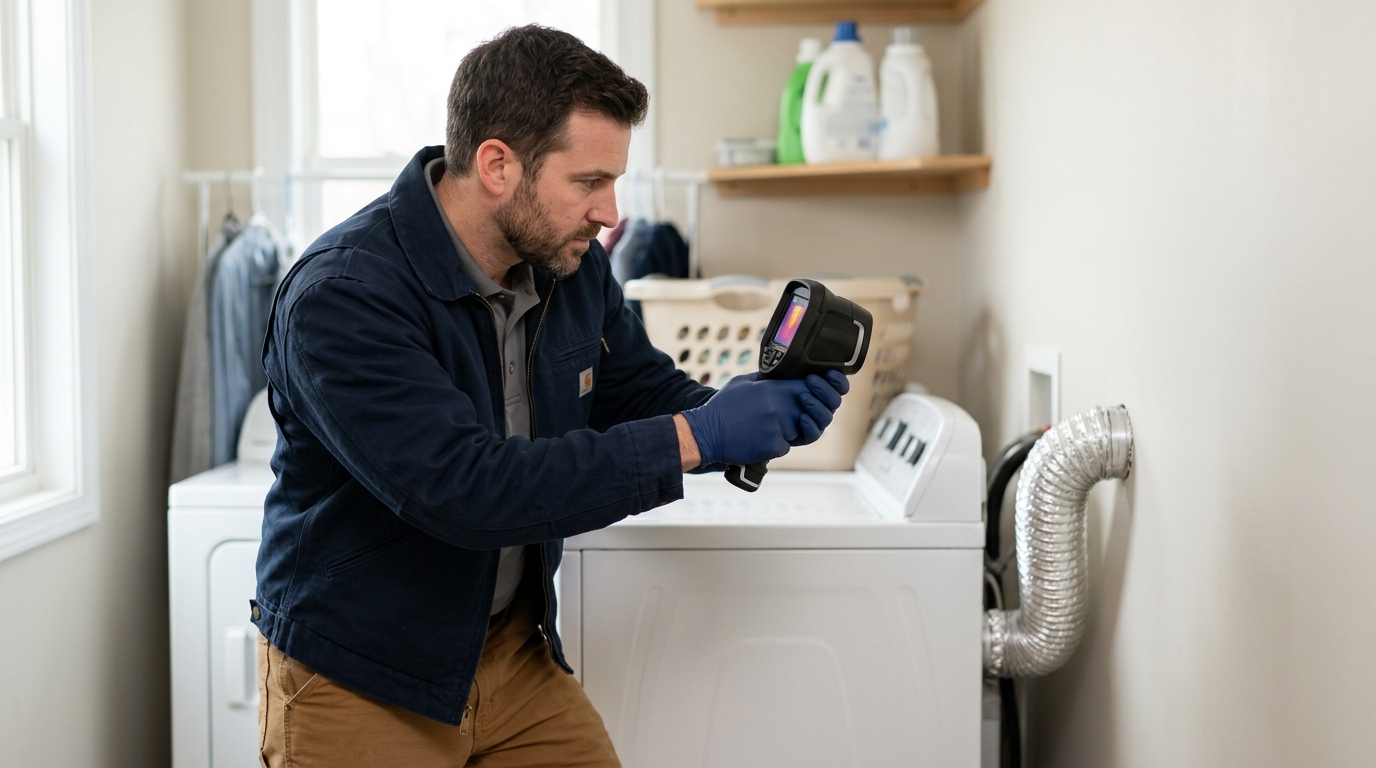
Your dryer runs load after load, and the utility bill keeps climbing no matter what settings you use. Shopping for an energy efficient dryer feels like the obvious fix, but the appliance itself is rarely the whole story. What’s pulling conditioned air through your walls, ducts, and attic often costs you more than any laundry machine ever could. This guide breaks down what genuinely moves the needle on energy costs, and what’s just marketing noise.
How an energy efficient dryer earns its label
ENERGY STAR vs. standard dryer ratings
A standard dryer runs on a timer and guesses when your clothes are done. That’s wasted heat, plain and simple. ENERGY STAR-certified dryers use moisture sensors instead of guesswork. They shut off or modulate heat the moment fabric hits the right dryness level. Manufacturers pair that with variable heating elements rather than one blast of full heat, which trims cycle energy use by roughly 20% compared with older resistive models.
Heat pump vs. vented vs. condensing types
The bigger jump in savings comes from how the dryer moves heat, not just when it shuts off. Vented dryers push hot, moist air straight outside, taking a chunk of paid-for heat with it every cycle. Condensing dryers keep that air inside and pull moisture into a tank. Heat pump dryers go further. They recycle warm air through a refrigerant loop instead of generating fresh heat each time, which is why they draw far less electricity than a coil-based unit doing the same load.
| Dryer type | How it handles heat | Typical energy use | Vent needed? |
|---|---|---|---|
| Standard vented (resistive coil) | Heats air once, exhausts it outside | Highest | Yes |
| ENERGY STAR vented | Sensor-modulated heat, still exhausts | ~20% less than standard | Yes |
| Condensing | Traps moisture, no outside vent | Moderate | No |
| Heat pump | Recycles warm air via refrigerant loop | Up to 50% less than standard | No |
Here’s the catch nobody puts on the yellow EnergyGuide sticker: none of these ratings account for the room the dryer sits in. A heat pump dryer working in a stuffy, humid closet has to fight the space itself before it can dry a single towel efficiently. And if you’ve ever wondered why your bill doesn’t budge after an upgrade, the answer usually isn’t the appliance — homeowners chasing a lower bill often start by researching electricity bill too high explanations, only to find leakage is the real culprit. A leaky envelope or poorly sealed ducts nearby can pull conditioned air away from that laundry area, forcing the dryer — and your HVAC system — to work harder than the specs promised. Efficiency ratings help you compare models at the store. They don’t compare your house.
Why the dryer alone won’t fix a high energy bill
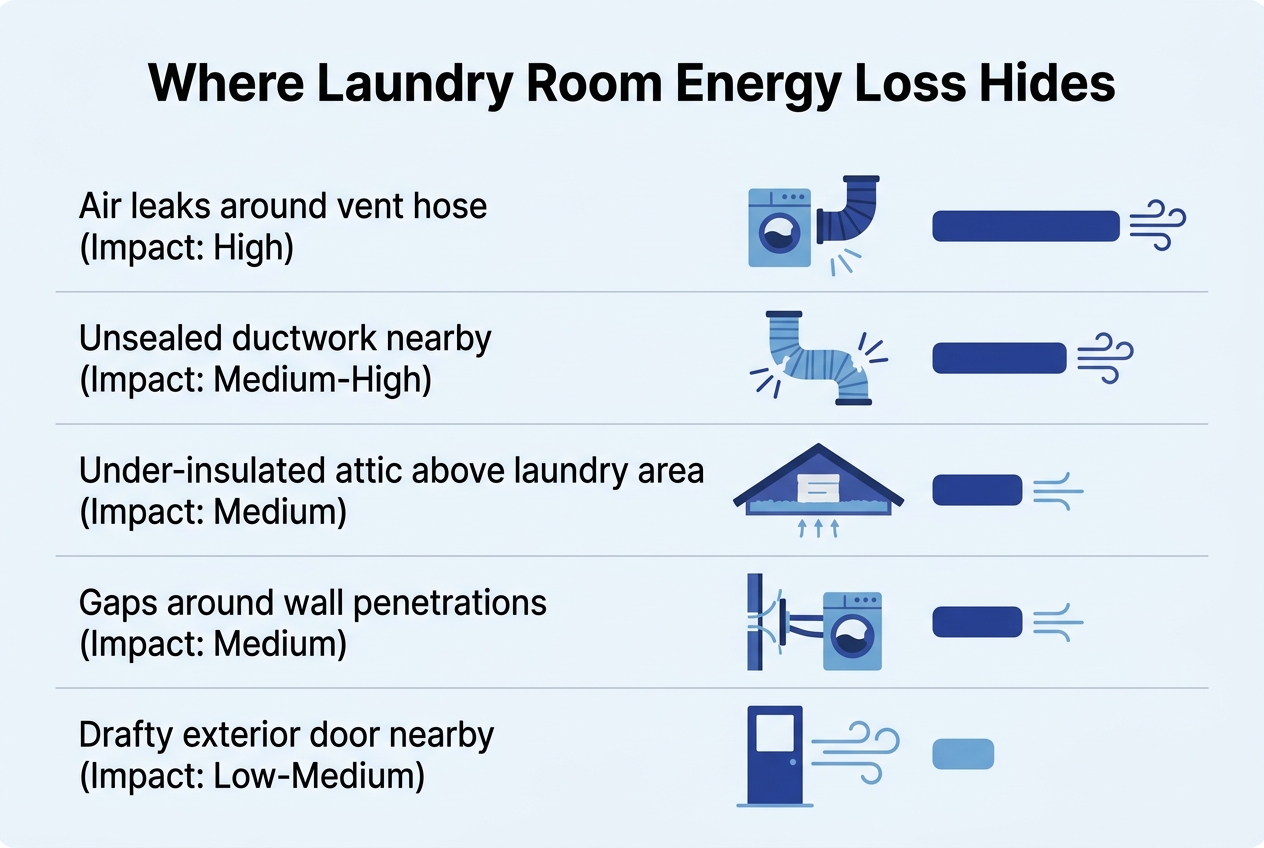
Where laundry room energy loss really comes from
Walk into most laundry rooms and utility closets and you’ll find a quiet trouble spot: gaps around the framing, floor penetrations where vent lines pass through, and rim joists that were never sealed tight during construction. These small openings let conditioned air slip out and hot, humid attic or crawl space air pour in. It’s not glamorous, but it’s real. Over a year, that kind of leakage adds up to a surprising chunk of a utility bill, especially in a Louisiana summer when the outdoor air pushing in is thick with heat and moisture.
Here’s the part people miss: a dryer working hard against a drafty, poorly insulated home still shows up on the bill, no matter how good the machine is. If the utility closet is losing air to an unsealed rim joist, the dryer runs longer to dry the same load because ambient humidity keeps creeping back in. Whole-home air sealing and duct sealing address the leakage that makes every appliance work harder, not just the dryer, which is why the same fixes that lower a heating bill often lower drying time too.
Homeowners often blame a single appliance for costs that actually trace back to attic or wall gaps. It’s an easy mistake. The dryer is the last thing you touch before the bill arrives, so it gets the blame. In reality, some of that heat loss and humidity intrusion has nothing to do with the machine and everything to do with what’s happening behind the walls; even something as specific as reducing lint and moisture buildup, covered in guides on duct dryer vent cleaning, only solves part of the picture if the room around the vent is still leaking air. A full picture starts with knowing where the losses actually are, and that’s usually not the appliance at all.
Signs your home is undermining your new appliance
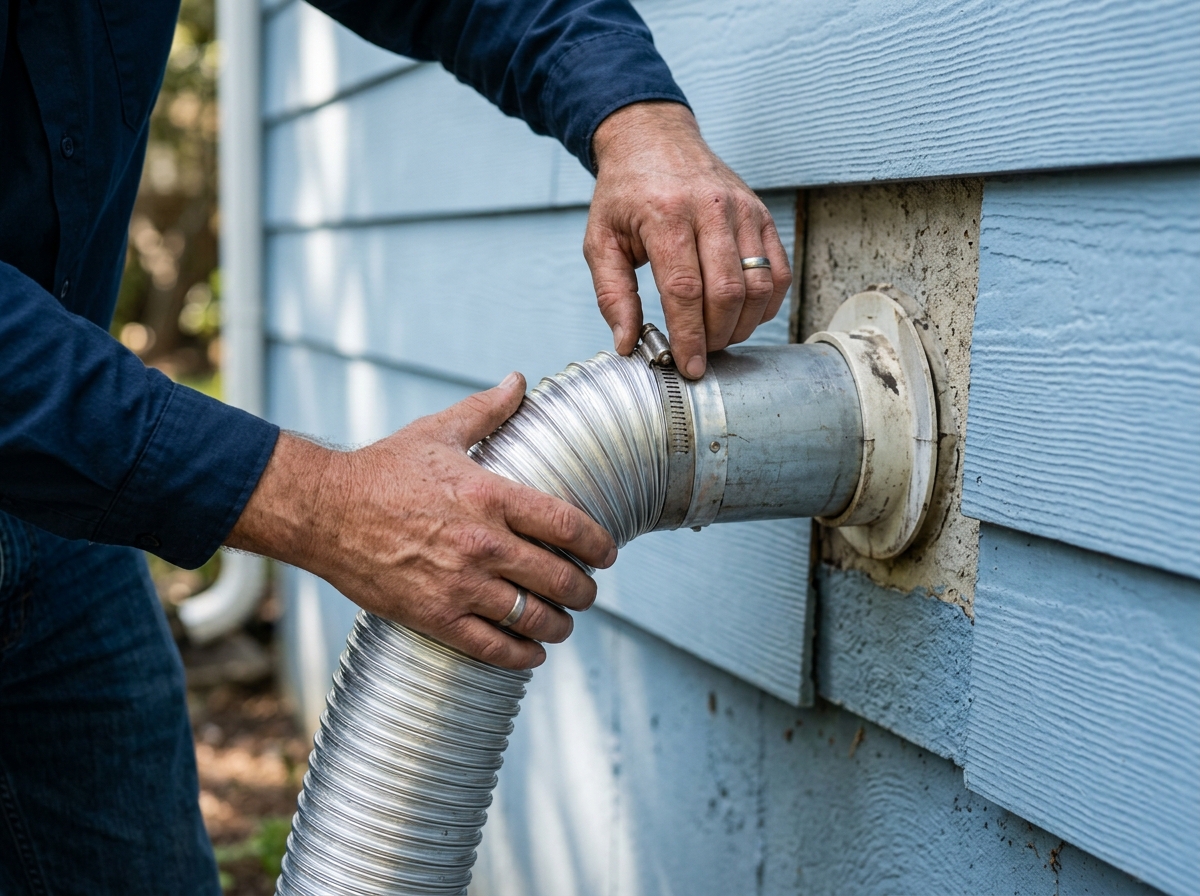
A new dryer can only do so much if the house around it is fighting back. Your utility room and the rooms next to it often show the first clues that something bigger than the appliance is wrong. Most of these signs get waved off as “old house quirks,” but they usually point to envelope leakage — gaps and duct losses that no dryer, however efficient, can compensate for.
- Uneven temperatures near the laundry area or the room next door, where one side feels fine and the other never quite matches the thermostat.
- Musty or dusty smells drifting from vents, which usually means ducts are pulling in air from the attic or crawlspace instead of conditioned air.
- A room that stubbornly won’t reach the set temperature even though you’ve got a newer HVAC system and a newer dryer doing their jobs.
- Utility bills that keep climbing months after an appliance upgrade, which almost always means the house itself, not the machine, is leaking money.
- Doors that feel drafty or don’t seal well at the threshold, letting conditioned air slip out right where you’re standing.
- Visible dust buildup around vents or baseboards that reappears days after cleaning, a sign air is moving through gaps it shouldn’t.
None of these are appliance problems. They’re building problems wearing an appliance’s blame. If you want a clear read on where the losses are actually happening, an assessment that includes air sealing diagnostics can pinpoint the leaks before you spend another dollar chasing the wrong fix. It’s worth knowing who you’re trusting with that diagnosis, too — a quick look at an about us page tells you a lot about how a provider actually works, not just what they claim to fix.
What a home energy assessment reveals before you shop for appliances
Before you spend money on a new dryer, it helps to know what’s actually happening inside your walls, ducts, and attic. A home energy assessment isn’t a guess. It’s a set of measurements that tell you exactly where energy is escaping and what fixing it is worth in dollars.
What the report actually documents
A proper assessment produces hard numbers, not vague impressions. Here’s what a typical report includes and why each piece matters:
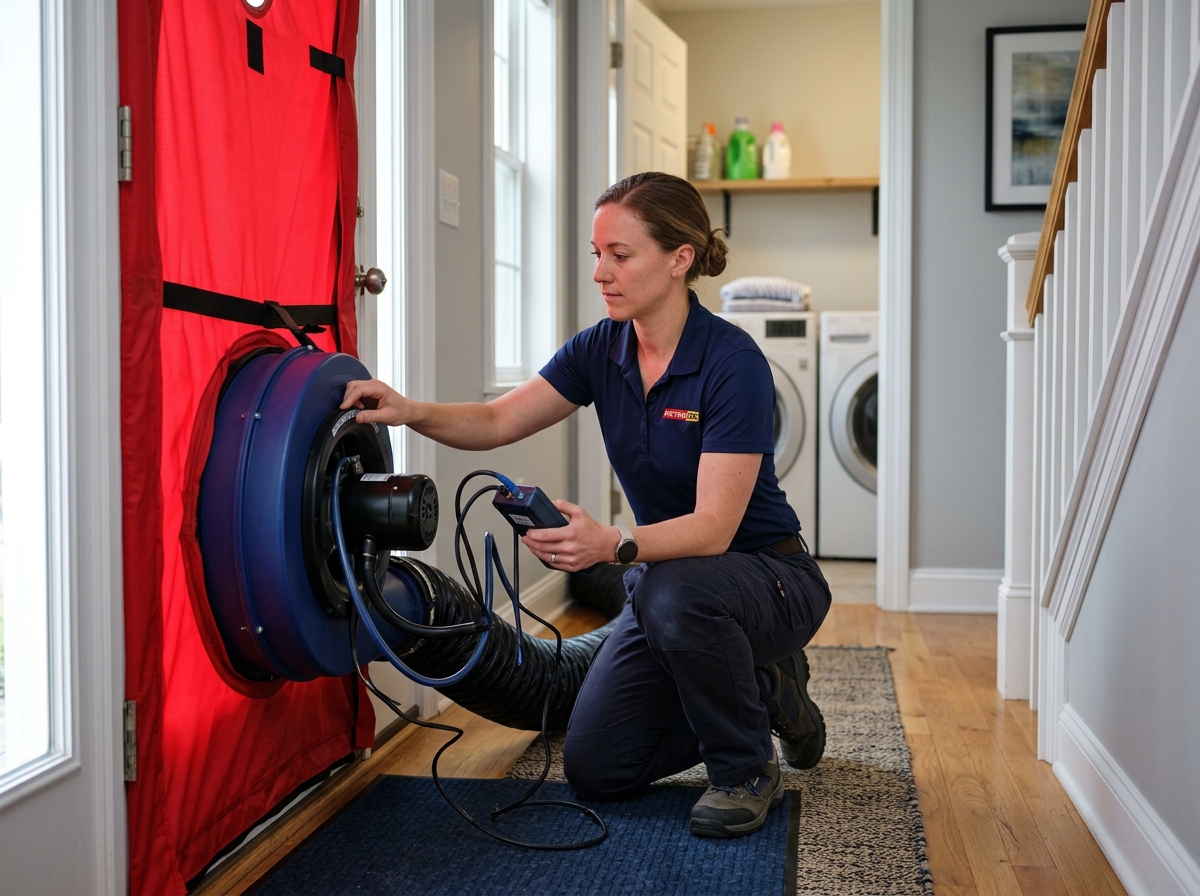
- Blower door tests quantify whole-house air leakage in measurable numbers, usually expressed as air changes per hour, so you know exactly how leaky the house is compared to a tight home.
- Duct blaster tests isolate how much conditioned air is lost through supply and return ducts before it ever reaches a room, which matters when your laundry area feels colder or hotter than the rest of the house.
- Thermal imaging inspection flags cold spots, missing insulation, and air infiltration around laundry areas and attics, catching gaps a visual walkthrough would miss entirely.
- Attic R-value checks confirm whether insulation levels meet ENERGY STAR-recommended targets, since many older homes fall well short of the R-38 mark without anyone noticing.
- A written action plan prioritizes fixes by dollar impact, not guesswork, ranking each recommendation by how much it saves relative to what it costs.
That last point is the one homeowners skip past too fast. Reviewing attic insulation examples alongside your own R-value numbers gives you a realistic sense of what a proper install looks like versus what’s currently up there. The report turns a vague sense of “the bills are high” into a ranked list. Some fixes pay back in a year. Others take longer. Either way, you’re deciding with data, not hoping for the best after buying a new appliance and crossing your fingers.
Air sealing and duct sealing: the fixes that support any efficient appliance
An efficient dryer still pulls its power through walls that leak, floors that leak, and ducts that leak. Air sealing closes the small gaps in walls, floors, ceilings, attic penetrations, top-plates, recessed lights, and rim joists that let conditioned air escape. Duct sealing tackles a different leak point: the supply and return runs that lose cooled or heated air before it ever reaches a room. Both jobs shrink the workload every appliance in the house is carrying, not just the furnace or the AC.
Mastic and aerosolized sealant, compared
Ducts get sealed one of two ways, and each has a place depending on access and leak size. A technician doing duct sealing will usually pick based on where the leaks sit and how bad they are.
| Method | Best for | Application | Typical result |
|---|---|---|---|
| Brush-on mastic | Visible joints, accessible seams | Hand-applied paste, cures solid | Durable seal on reachable leaks |
| Aerosolized sealant | Hidden leaks inside walls/ceilings | Sprayed internally, seals from inside out | Reaches spots mastic can’t touch |
| Mechanical repair | Disconnected or crushed sections | Physical reattachment or replacement of damaged piece | Restores airflow path |
| Combination approach | Older duct systems with mixed damage | Mastic plus aerosolized pass | Comprehensive coverage |
Neither method redesigns or replaces ductwork. It’s sealing what’s already there, and it’s usually a fraction of the cost of tearing runs out.
Verifying results with blower-door and duct blaster retests
Talk is cheap. Numbers aren’t. A real job starts with pre-test flow pressure measurements and a smoke-pencil or thermal imaging pass to find leaks, then finishes with a post-test verification report. That report compares before-and-after blower-door and duct blaster numbers, so you see actual leakage reduction in hard figures, not a technician’s word for it. If you want the deeper technical side of how tightening a home changes appliance load, reviewing Emerging Technology Dryer Testing data is a useful next step. One more thing worth doing every time: a combustion-safety check, confirming water heaters and furnaces still draft properly once the house is sealed tighter. Skip that step and you risk trading a comfort problem for a safety one.
Insulation’s role in keeping efficient appliances efficient
Attic, wall, and crawl space cellulose applications
Buy the best dryer on the market, and an under-insulated attic will still bleed you dry. Attics and wall cavities that skimp on insulation can lose 40% or more of your conditioned air, which means your HVAC system runs longer, your utility bill climbs, and your new appliance’s efficiency rating means almost nothing next to it. Insulation isn’t glamorous. But it’s the backdrop every efficient appliance needs to actually perform as advertised.
This is where blown in cellulose insulation earns its keep. It’s dense, made largely from recycled material, and it’s installed to reach the recommended R-38 in most attics, with high-efficiency goals pushing up to R-60. That range covers the gap between a home that merely meets code and one built for real savings. Crawl spaces get the same treatment, paired with sealed rim joists, which cuts the cold-floor complaint that shows up every winter. Standing water or existing moisture problems in a crawlspace need to be handled by a waterproofing contractor first — cellulose and rim joist sealing come after that, not instead of it.
Dense-pack cellulose fills irregular cavities and settles around obstructions, unlike batts that leave gaps
Batts look tidy on paper. In practice, they’re cut to standard widths and rarely match the odd angles, wiring runs, and framing quirks found in real attics and walls. Every gap left behind is a path for conditioned air to escape. Dense-pack cellulose gets blown in under pressure, so it flows around pipes, wiring, and joists instead of stopping short at the first obstacle.
That’s a meaningful difference for older homes especially, where framing was never perfectly square to begin with. The material settles into corners batts can’t reach, closing off the small gaps that add up to a big loss. Think of it as the difference between laying carpet tiles with seams everywhere and pouring a liquid that fills every crack on its own.
Depth and R-value are verified after installation so homeowners see documented results, not just an invoice
Anyone can quote an R-value before the job starts. The real question is what gets measured after. A proper install includes depth checks and R-value verification once the cellulose has settled, so you’re handed documented numbers instead of a vague promise. That paperwork matters if you’re later applying for a utility rebate tied to insulation levels.
It also matters for a simpler reason: you’ll actually know what you paid for. No guessing, no taking someone’s word for it. If you’re still weighing which upgrades to prioritize, a home energy assessment with thermal imaging can show exactly where your attic or walls are underperforming before cellulose goes in. And once the insulation work is done, small habits still help; for instance, understanding the most efficient clothes dryer setting can shave a bit more off your laundry costs on top of the structural fix.
Comparing your options for lowering laundry and whole-home energy costs
A new machine feels like the obvious move. But it’s worth stepping back and looking at what each path actually buys you, in dollars and in comfort, before you spend anything. The options below aren’t equal, and some solve a much bigger problem than others.
| Option | Upfront cost | What it actually fixes | Rebate eligible? |
|---|---|---|---|
| New ENERGY STAR or heat pump dryer | $900–$2,000+ | Appliance-level use only | Rarely, and no paperwork help included |
| Spray foam insulation | High premium, done by a separate contractor | Attic/wall R-value, not ducts or leaks | Sometimes, varies by installer |
| Blown-in cellulose plus air sealing and duct sealing | Often little to no cost through utility programs | Whole-home leakage, uneven rooms, duct loss | Yes, with pre/post test documentation |
| Doing nothing | $0 now, more later | Nothing — bills and strain continue | No |
A dryer replacement only touches one appliance. It won’t stop hot attic air from leaking into your ceiling, and it won’t fix ducts pulling in dust from a crawlspace. Given how energy efficiency is measured for laundry equipment, the gains are real but narrow — they stop at the appliance’s plug.
Spray foam has its fans, and it does raise R-value. But it’s a different scope entirely, done by a different type of contractor, usually at a steep premium with no diagnostic testing built in. Blown-in cellulose paired with air sealing and duct sealing hits the whole house instead: attic, walls, crawlspace, and the ducts feeding every room. It’s also the option most likely to qualify for utility incentives, since the results get verified with blower-door and duct blaster retests, not guessed at.
Doing nothing costs the most in the long run. Your dryer, furnace, and AC all keep working harder than they should, and given the cost of electricity in louisiana, that adds up fast. Skipping the fix doesn’t save money. It just delays the bill.
Getting utility programs to cover the cost of home upgrades
Which utility programs apply in Louisiana and Mississippi
Paying full price for weatherization work isn’t always necessary. Utility-sponsored efficiency programs across the region were built for exactly this: covering the gap between what a home needs and what a homeowner can pay out of pocket. Before you shop for a dryer or any other appliance, it’s worth finding out whether your utility footprint already qualifies you for free or reduced-cost work.
- Programs run through Entergy, CLECO, Mississippi Power, Atmos Energy, and Energy Smart often cover most or all project costs for eligible homes, so the upgrade doesn’t come out of your pocket.
- Income-eligible customers can qualify for free assessments, air sealing, duct sealing, and insulation, which means the households with the tightest budgets often get the most help.
- Rebate and incentive paperwork gets handled on the homeowner’s behalf by many local businesses that specialize in this work, removing the confusing forms that stop people from even applying.
- Projects are led by BPI-certified Building Analyst Professionals, whose work meets ENERGY STAR standards and follows ASHRAE 62.2 ventilation guidelines, not guesswork.
- Booking an appointment is often finished in under 5 minutes, and the crews that show up tend to be punctual, respectful, and thorough about cleanup afterward.
None of this replaces good diagnostics. A proper starting point is still energy assessments that measure where a home actually loses conditioned air, so any utility-funded work targets real problems instead of guesses. Skip that step and you risk spending program dollars on the wrong fix. That’s the whole point of utility programs, really: they exist so cost stops being the reason a leaky, drafty house never gets fixed.
Before deciding, it’s worth thinking about what’s actually driving the discomfort or the high bills—drafty doors, leaky ducts, thin attic insulation—rather than jumping straight to the priciest fix first. A home energy assessment with blower-door and thermal imaging data can show, in measurable terms, whether air sealing and blown-in cellulose close the gap on their own, or whether other trades need to weigh in first. Talk through the numbers, ask questions by text or in person, and let the job quality and efficiency results guide the next step rather than assumptions.
