


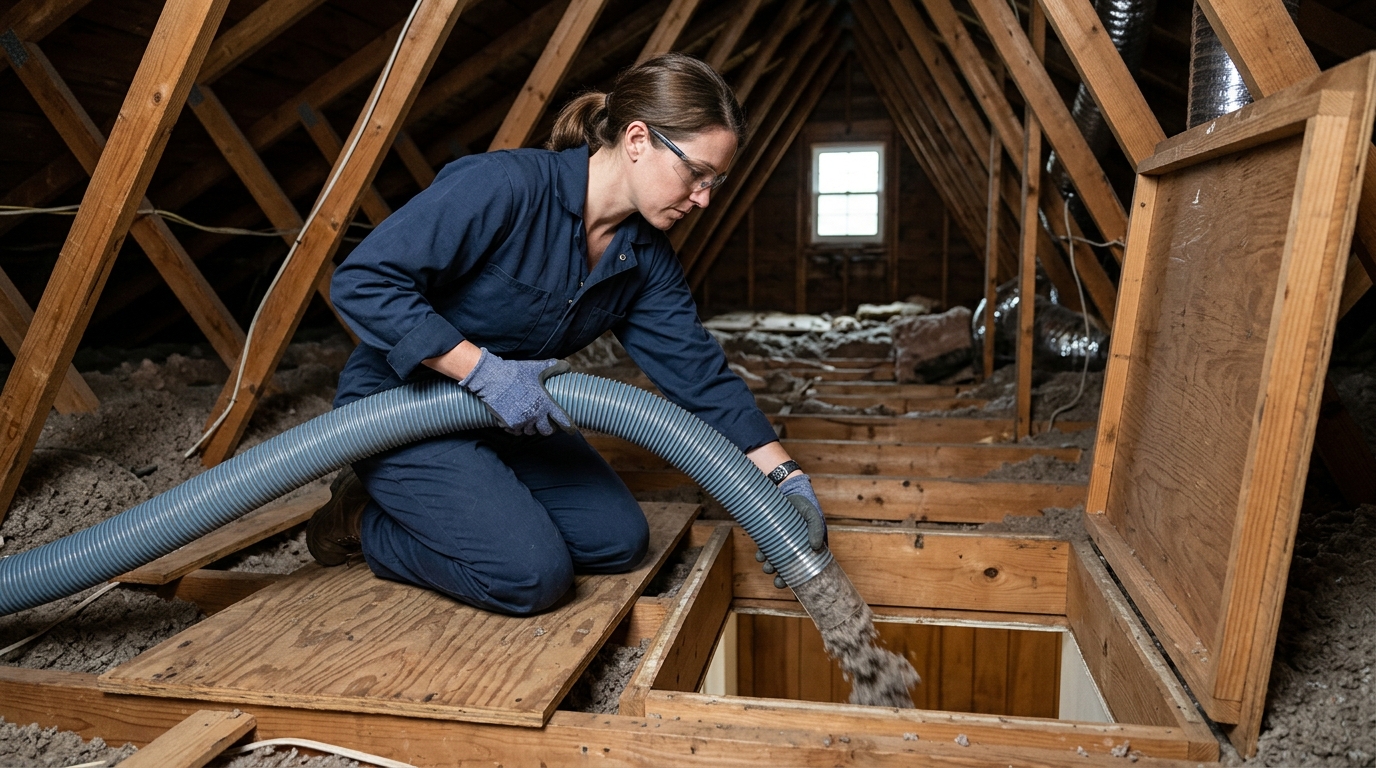
Louisiana’s heat and humidity find every gap in your house, and your energy bill proves it every summer. If you’re weighing home insulation upgrades for 2026, you deserve straight answers about what actually moves the needle on comfort and cost — not upsells for work your attic doesn’t need. This guide walks Louisiana homeowners through real efficiency gains, from air sealing around drafty doors to dense-packed cellulose that outperforms guesswork. No jargon. Just a clear plan for lower bills.
Why Home Insulation Matters More Than You Think
How heat moves through an under-insulated home
Heat is lazy. It always moves toward cooler space. In summer that means it pushes hard from your blazing attic down into your living room. In winter, it does the opposite, slipping out through the ceiling and walls any chance it gets. An under-insulated attic or wall cavity can lose more than 40% of your conditioned air, which is a staggering number when you think about what you’re paying to heat or cool that air in the first place.
Here’s the part people miss: insulation slows heat transfer, but it doesn’t stop moving air. If there’s a gap around a top plate or a chase running from the attic down to the wall cavity, air will find it, insulation or not. That’s why comfort complaints like a scorching upstairs bedroom or a cold bathroom floor almost always trace back to a combination problem, not just a thin attic. Insulation alone doesn’t fix leaky air paths. And it definitely doesn’t fix ducts pumping conditioned air into the attic instead of the room.
Think of insulation as a blanket and air sealing as tucking in the edges. A great blanket with open edges still lets the cold in. That’s why a thorough air sealing pass matters as much as the insulation depth itself.
The link between insulation and utility bills
Every degree your HVAC system has to fight to maintain becomes a line item on your bill. When conditioned air escapes through gaps, gets lost in leaky ducts, or simply passes through thin insulation, your system runs longer and harder to compensate. Multiply that by a Louisiana summer with months of triple-digit heat index days, and you can see why so many homes here run their air conditioners nearly nonstop from May through September.
Gulf Coast humidity makes this worse than it would be in a drier climate. Moist air carries more energy, and it’s relentless about finding its way through unsealed gaps, especially around attic penetrations and rim joists. That means insulation performance can look fine on paper, with a decent R-value, and still underperform badly in practice if air sealing gets skipped. You end up with clammy rooms, musty odors, and an AC unit that never seems to catch a break, even though the attic technically has enough insulation.
This is where a lot of homeowners get stuck making decisions based on guesswork instead of data. Reading up on general home efficiency topics helps you ask better questions before committing to a fix. The honest verdict: a house with mediocre insulation but excellent air sealing usually beats a house with excellent insulation and sloppy air sealing. Bills follow leakage, not just R-value.
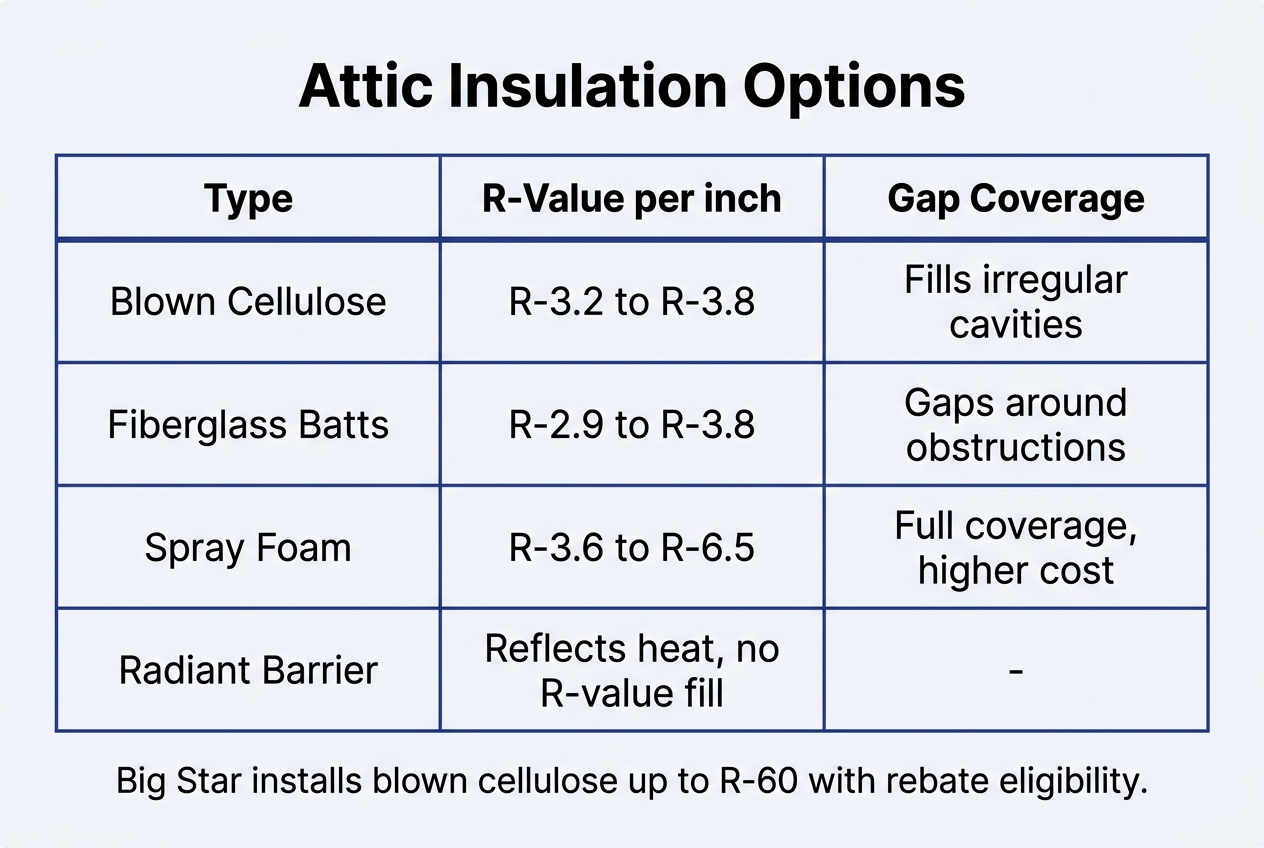
Home Insulation Options Compared: Cellulose, Batts, Foam, and Radiant Barriers
Not all insulation does the same job, and picking the wrong one wastes money. Here’s the honest breakdown, material by material, so you know what you’re actually paying for before anyone touches your attic.
Where each material performs best
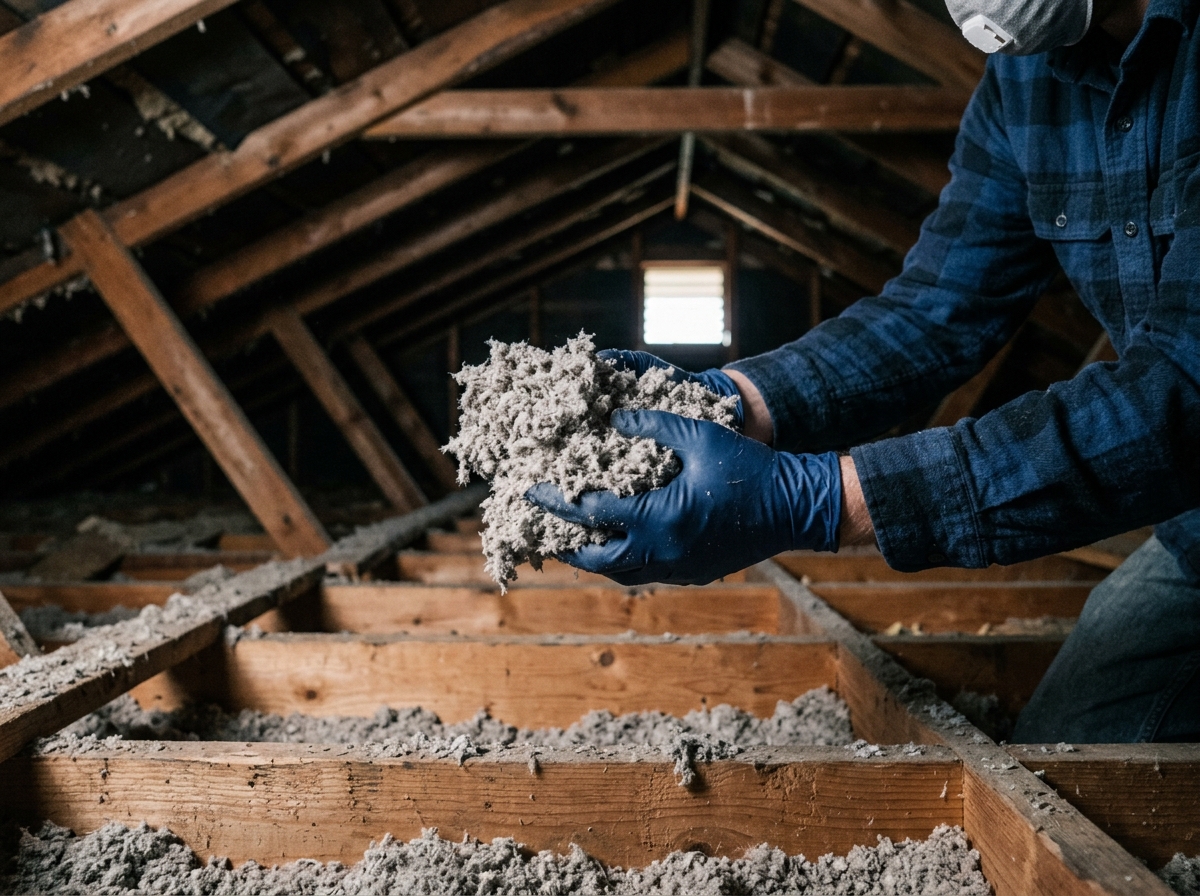
Blown-in cellulose is the material of choice for attics, walls, and crawl spaces because it flows into odd-shaped cavities and settles snugly around wiring, plumbing, and framing. That matters more than most people realize. Fiberglass batts are pre-cut rectangles, so they leave gaps wherever a pipe, wire, or brace gets in the way, and they compress over time, losing R-value years before homeowners notice higher bills. Spray foam seals tight and performs well, but it carries a steep upfront cost. Radiant barriers only block radiant heat gain; they do nothing for air leakage or a low attic R-value, which is usually the bigger problem anyway.
| Material | Best use case | Handles obstructions | Typical drawback |
|---|---|---|---|
| Blown-in cellulose | Attics, walls, crawl spaces, irregular framing | Yes, fills around obstacles | Needs proper depth verification |
| Fiberglass batts | Simple, unobstructed stud/joist bays | No, leaves gaps | Compresses and loses R-value |
| Spray foam | Rim joists, small sealed cavities | Yes | Premium cost, rarely rebate-eligible |
| Radiant barrier | Hot, sun-exposed roof decks | N/A | No fix for air leaks or low R-value |
Why utility programs favor certain insulation types
Utility rebate programs care about one thing: measurable, verifiable results per dollar spent. That’s why dense-pack cellulose, installed up to R-60 and checked afterward with depth measurements and R-value verification, shows up again and again on approved-materials lists. Spray foam rarely qualifies, since its cost per R-value point is harder to justify at program scale. If a low attic R-value or uneven room temperatures are your real complaint, a home energy assessment with thermal imaging will show whether the fix is more insulation, better air sealing, or both — rather than guessing your way into a radiant barrier that won’t solve it. For homes where the cooling equipment itself is aging or undersized, reading up on AC installation basics helps separate an equipment problem from an insulation problem before you spend on either. Wall cavities and attics that leak 40% or more of your conditioned air don’t need fancier materials; they need blown in cellulose insulation installed dense enough to actually stop that loss, with numbers to prove it. Before any of that scheduling happens, it’s worth a quick look at how your information gets handled, which is spelled out in plain terms in the privacy policy.
How a Professional Home Energy Assessment Finds the Real Problem
What happens during a blower door test
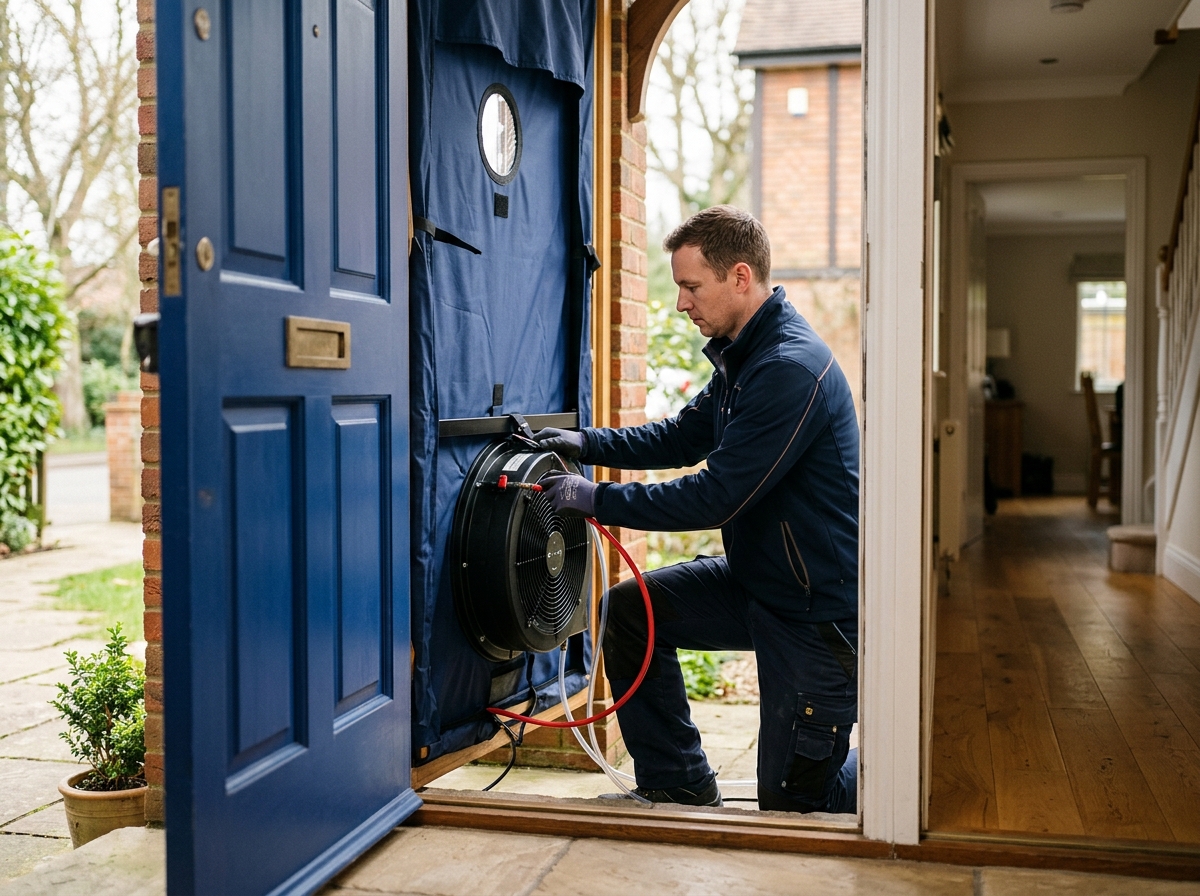
A blower door test starts with a powerful calibrated fan sealed into your front doorway. It pulls air out of the house until the pressure drops, then measures exactly how much air rushes back in through every gap and crack. That number gets converted into a leakage rate, usually expressed in air changes per hour. It’s the closest thing to a whole-house physical you’ll find.
While that fan is running, a duct blaster test does the same math for your ductwork alone, isolating leakage in the supply and return runs so you know how much conditioned air is escaping into the attic before it ever reaches a vent. Many homes lose 20% or more of their air this way. Sealing that gap first often matters more than any insulation upgrade.
The two tests together tell a story numbers alone can’t. A tight envelope with leaky ducts behaves totally differently than a leaky envelope with tight ducts, and the fix for each is different too. That’s why pairing them matters. Skip one, and you’re guessing.
Reading a thermal imaging report
A thermal camera shows temperature differences as color patterns across your walls and ceilings, catching what a flashlight walk-through misses. Cold streaks near top plates or recessed lights usually mean air is moving where it shouldn’t. Faded blotches in an attic scan often reveal insulation that’s thin, compressed, or missing entirely. Understanding benefits of insulating your attic becomes obvious once you see the heat loss mapped in real color.
An attic R-value check follows up on what the camera suggests, physically measuring insulation depth and comparing it against what your climate zone recommends, typically R-38 or higher for Louisiana homes. Plenty of attics measure out at half that. That gap is quietly padding your utility bill every single month.
None of this data means much sitting alone in a folder. A good assessment turns blower-door numbers, duct leakage rates, thermal images, and attic depth readings into one custom action plan, not a generic checklist handed to every homeowner on the block. Your neighbor’s fix and your fix might look nothing alike, even with identical square footage.
Air Sealing: The Step Most Homeowners Skip
Most homeowners jump straight to insulation and skip the step that actually matters first. Air sealing closes the gaps that let conditioned air escape and outside air pour in. It’s not glamorous work. But it’s the difference between insulation that performs and insulation that just sits there looking useful.
Here’s where the leaks usually hide, and they’re rarely where you’d guess:
- Wall cavities and floor penetrations where plumbing, wiring, or old construction gaps create direct paths between conditioned space and the outdoors;
- Ceiling penetrations and top-plates in the attic, where framing joints and wire holes act like tiny open windows year-round;
- Recessed light fixtures, which are notorious for pulling attic air straight into a living room;
- Rim joists around the foundation perimeter, often the single leakiest spot in an entire house;
- Attic hatch openings and chase ways for ductwork or chimneys, easy to overlook and rarely sealed at construction.
That draft you feel near a window? It’s probably not the glass. Frame and trim gaps around the window opening are the usual culprit, and they cost far less to fix than replacement. Sealing those gaps, along with the list above, is what a blower door test is designed to find, and a pre- and post-test comparison shows the exact improvement in measurable terms.
Sealing has to happen before insulation goes in, not after. Blow cellulose over unsealed gaps and you’ve just buried moving air under material that can’t stop it. For attic work specifically, reviewing the details behind a typical attic insulation project shows how sealing and blow-in installation are sequenced together rather than treated as separate jobs.
One more thing people forget: tightening a house changes how it breathes. That’s why a combustion-safety check on water heaters and furnaces matters after sealing, confirming they still draft properly instead of pulling exhaust back indoors. If you’re weighing whether your home needs this kind of attention, reaching out through the contacts page is a reasonable place to start asking questions.
Duct Sealing: Stopping Leakage Before You Consider Duct Replacement
Before any tools come out, a proper duct sealing job starts with numbers, not guesswork. Pre-test flow pressure measurements pinpoint exactly where air is escaping and how bad each leak really is. From there, a smoke pencil combined with thermal imaging confirms the exact leak points, so no one’s sealing based on a hunch. This diagnostic-first approach is a big reason reviewers keep bringing up efficiency and job quality in the same breath — the fix matches what the numbers actually show.
Once leaks are mapped, the repair work happens from the inside. Mechanical repairs handle loose connections and damaged joints, while brush-on mastic or aerosolized internal sealant closes gaps that hands can’t reach. Reviewing a photo duct sealing before-and-after helps homeowners understand what “sealed from inside” actually looks like in practice. It’s less dramatic than tearing out ductwork. It’s also a fraction of the cost.
Mastic vs. aerosolized sealant
| Method | Best for | Application | Typical limitation |
|---|---|---|---|
| Brush-on mastic | Accessible joints, seams, connections | Applied by hand to exposed duct surfaces | Can’t reach leaks buried inside walls or slabs |
| Aerosolized internal sealant | Whole-system leakage, hidden or hard-to-reach gaps | Injected and pressurized through the duct interior | Requires specialized equipment and setup time |
| Mechanical repair | Disconnected runs, crushed or torn sections | Physical reattachment, clamps, or patching | Doesn’t address small pinhole leaks alone |
What the verification report shows
A post-test verification report puts hard numbers next to the before-and-after. Duct leakage is measured, compared against the pre-test baseline, and documented in a format you can keep for your records. That’s the difference between assuming a job worked and knowing it did. For homeowners weighing whether to invest further, browsing the portfolio of completed projects offers a realistic sense of typical leakage reduction. Often, sealing existing ducts resolves the dust, the musty smell, and the room that never quite cools down — no replacement required.
Steps to a Fully Weatherized Home
Weatherizing a home isn’t one job. It’s a sequence, and skipping a step usually means paying for it twice. Most homeowners want to jump straight to insulation, but the order matters more than the individual task. Here’s the full path from first call to final paperwork.
What to expect on assessment day
The process starts with a home energy assessment, and it’s more thorough than most people expect. A technician will run a blower door test to measure whole-house air leakage, then a duct blaster test to check how much conditioned air your ducts are losing before it reaches the vents. Thermal imaging often gets added to spot cold or hot patches hiding behind walls and ceilings.
- Review a custom action plan that ranks air sealing, duct sealing, and insulation by which fixes will save the most energy for the money;
- Complete air sealing of cracks, gaps, and penetrations around top plates, recessed lights, and rim joists, since air sealing is usually the highest-value step per dollar spent;
- Add blown-in cellulose to attics, walls, or crawl spaces until the space reaches R-38 or higher, with depth checked after the blow rather than guessed at;
- Run combustion-safety checks on gas water heaters and furnaces, because tightening a house can change how those appliances draft;
- Complete post-test verification to prove, with numbers, that leakage actually dropped;
- Submit rebate and utility incentive paperwork through whoever handled the work, so you’re not stuck chasing forms after the fact.
How verification testing confirms results
Talk is cheap. Numbers aren’t. A second blower door test and duct blaster reading, run after the work is done, show exactly how much leakage was cut, not just what was promised on day one. Reputable crews document both readings side by side. For homeowners who want the technical backdrop before signing off on any plan, the federal Guide to Home Insulation lays out recommended R-values by climate zone. That’s the benchmark your final report should be measured against.
Home Insulation Costs, Rebates, and Utility Programs in Louisiana and Mississippi
Who qualifies for no-cost or reduced-cost service
Most homeowners assume weatherization comes out of pocket. It often doesn’t. Utility programs run through Entergy, CLECO, Mississippi Power, Atmos Energy, and Energy Smart frequently cover most or all the cost of air sealing, duct sealing, and insulation work for eligible customers. These programs exist because utilities save money when homes waste less energy, so they’ll subsidize the fix rather than build another power plant. If you’re near Elmwood or anywhere in Louisiana or Mississippi, there’s a decent chance a regional partnership already applies to your address.
Income-eligible households often qualify for the whole job at zero cost, including the energy assessments that diagnose the problem in the first place. That’s a blower door test, a duct blaster test, thermal imaging, and an attic R-value check, all before anyone touches insulation. Verdict: if you haven’t checked your eligibility, you’re probably leaving free money on the table.
Eligibility usually depends on household size and income relative to area median, not credit score or homeownership length. Renters in qualifying multi-family properties can sometimes get service too. It’s worth a phone call just to find out where you land.
Why paperwork assistance matters
Utility rebate forms are not fun. They ask for pre- and post-test data, model numbers, install dates, and program codes that vary by provider. A dedicated provider that handles this paperwork on your behalf removes the single biggest reason homeowners abandon rebate programs halfway through. You get the savings without spending an evening buried in spreadsheets.
This matters even more when a project spans multiple services, like duct sealing paired with blown-in cellulose. Each may qualify for a separate incentive, and combining them correctly is where a lot of people trip up. Choosing sound materials matters too, and reviewing Insulation Options and Their Benefits beforehand helps you ask sharper questions during the assessment. Fast scheduling helps as well; most reputable providers can book an appointment in under five minutes, and BPI-certified Building Analyst Professionals lead the project so the paperwork actually matches the work performed. That combination — correct diagnostics plus handled paperwork — is what turns a vague idea about “saving on bills” into a signed-off, verified, rebate-funded result.
Before choosing a path forward, it helps to ask what’s actually driving the discomfort or high bills in the first place, and whether that root cause is something a blower-door test and thermal imaging can actually confirm rather than guess at. Homeowners who’ve been through it often talk about how much air sealing and properly verified insulation depth mattered to the final result, more than any single product name. A quick text or call to walk through an assessment can clarify which fixes are worth pursuing first, and which questions are still worth asking a specialist down the road.
