


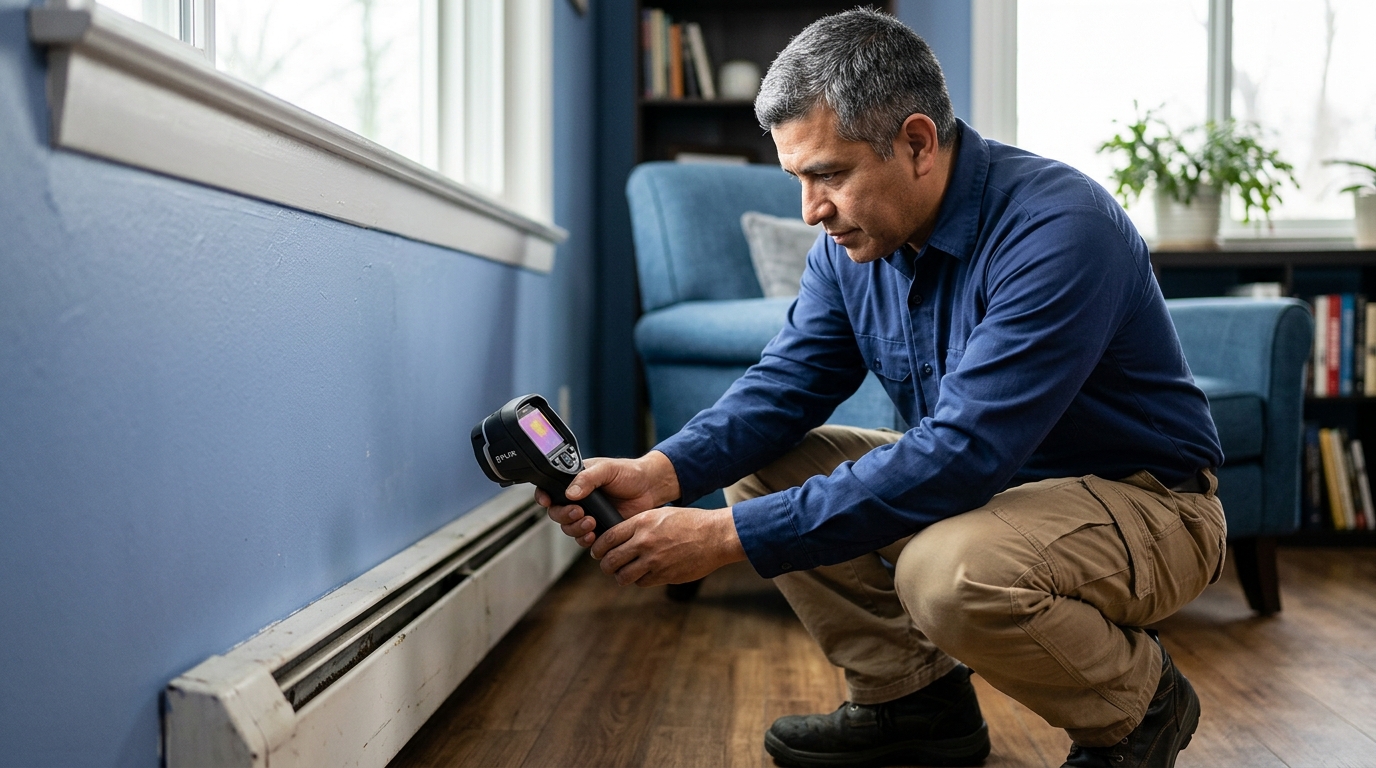
You’ve probably searched for a new baseboard heater cover hoping it would stop the cold draft creeping across your floor or the scorch marks on your trim. It won’t. A baseboard heater cover is cosmetic — it dresses up the unit but does nothing about the air leaks, gaps, and missing insulation behind the wall that are actually driving your heat loss and your utility bill. The real fix starts with understanding what’s happening inside your walls, not what’s bolted over your baseboard. This guide shows you where to look, and what to fix first.
What a Baseboard Heater Cover Actually Does (and Doesn’t Do)
Convection heating basics
Baseboard heaters work by convection, not radiation. Cold air gets pulled in low, passes over a heated element, and rises out the top as warm air. That loop depends entirely on airflow. A cover shapes that loop. It controls where air enters and exits, and a well-designed one can make the warm air spread more evenly across a room instead of pooling near the ceiling.
But a cover is just sheet metal routing air traffic. It can’t change how much heat the unit produces. It can’t stop cold air from feeding into that loop in the first place. If the wall cavity behind the heater is leaking outside air, the cover will dutifully heat that cold air and send it back out, over and over. It’s doing its job. The job just isn’t what most homeowners think it is.
Common reasons people shop for a replacement cover
Most people start looking for a new cover for three reasons: a toddler keeps getting too close to a scorching-hot element, the old unit looks like it belongs in a 1974 den, or a vent louver is bent and blowing heat the wrong direction. All valid. A new cover fixes all three. It also happens to be the easiest, most visible fix available, which is exactly why it gets bought first and questioned later.
Here’s the disappointment that follows. A homeowner spends $60 to $150 on a sleek new cover, installs it over a weekend, and waits for the electric bill to drop. It doesn’t. Usage stays flat, sometimes it even climbs, because the cover never touched the actual heat loss happening behind the wall. Reviewing air sealing case examples makes clear why: wall penetrations behind and beneath baseboard units are common entry points for outside air, and no cover design reaches back there.
That cold wall behind the unit is often the real story. Uninsulated or poorly sealed cavities right where the heater sits are common in older Louisiana homes, especially ones built before modern air-sealing standards. The heater works overtime fighting a draft it can’t win. For readers who want more detail on diagnosing this before buying anything, the blog covers how these cold-wall patterns show up during an assessment.
Why the Room Still Feels Cold Even With a New Cover
How thermal imaging finds the hidden draft
A new cover looks great. It also hides the actual problem instead of fixing it. If the room still feels cold, something behind the baseboard is letting conditioned air leak out and cold outside air leak in. No amount of metal or wood trim changes that math. Thermal cameras read surface temperature differences you can’t see with your eyes, showing the exact spot where warm air escapes and cold air creeps in.
During a scan, a tech points the camera along the baseboard run, the floor edge, and the wall above it. Cold streaks near the floor usually mean air movement, not just poor insulation. A 3 to 5 degree swing in a few inches is enough to flag a leak worth sealing. Homeowners are often surprised the worst spot isn’t near the heater itself but a few feet away, where a wall seam or outlet box sits.
That’s the value of pairing thermal imaging with a blower door test: one shows where, the other shows how much. Together they turn a guess into a number, and that number tells you whether air sealing alone will solve it or whether insulation needs to come first.
Gaps behind baseboard trim and flooring edges are a known air-sealing target
Exterior walls behind baseboard heaters take a beating from builders in a hurry. Rim joists, bottom plates, and the gap where flooring meets the wall are common weak points, and they sit right where the heater lives. That’s not a coincidence. Heaters get installed along exterior walls because that’s where the cold enters, which means the cover is mounted directly over the leakiest part of the room.
Flooring installers often leave a quarter-inch gap along the wall for expansion. Builders caulk it, sometimes. Over a decade or two, that caulk shrinks, cracks, or just disappears. Gaps behind baseboard trim this small add up fast across a 20-foot wall, acting like a low, wide window left cracked open all winter. Bottom plates where framing meets the foundation are just as common a leak path, and just as easy to miss without pulling the heater and trim off the wall.
Uneven heat distribution is often diagnosed, not guessed, with a blower door test and thermal imaging
Guessing why one room runs cold wastes money. You end up buying a space heater, a thicker cover, maybe new flooring, none of which touch the actual leak. A blower door depressurizes the house and measures exactly how much air is moving through gaps, in cubic feet per minute. That number gets compared to a target based on the home’s size, giving you a real before-and-after benchmark instead of a hunch.
Pair that with thermal imaging and a tech can walk the house and point at specific trouble spots, not just give you a general score. It’s the difference between “your house is drafty” and “this three-foot section behind the living room heater is losing 40 cubic feet of air per minute.” One of those gets fixed. The other gets ignored for another winter.
A home energy assessment identifies whether the issue is the wall cavity, not the heater hardware
Most homeowners assume a cold room means a broken heater. Usually it’s not. The heater is doing its job; the wall around it just isn’t holding the heat it makes. A proper assessment checks both, so you’re not replacing working equipment or buying a premium cover to solve a problem that lives inside the wall cavity.
That assessment also catches what trim alone never will: under-insulated cavities, open rim joists, and framing gaps that no cover, however well built, can seal from the outside. For readers comparing options beyond trim upgrades, learning about proven approaches to sealing drafts around baseboards and rim joists is a reasonable next step before spending on hardware. Fix the cavity first. The cover becomes a finishing touch, not a patch job pretending to be a fix. Details on how assessment findings and paperwork are handled are outlined in the privacy policy for anyone scheduling a visit.
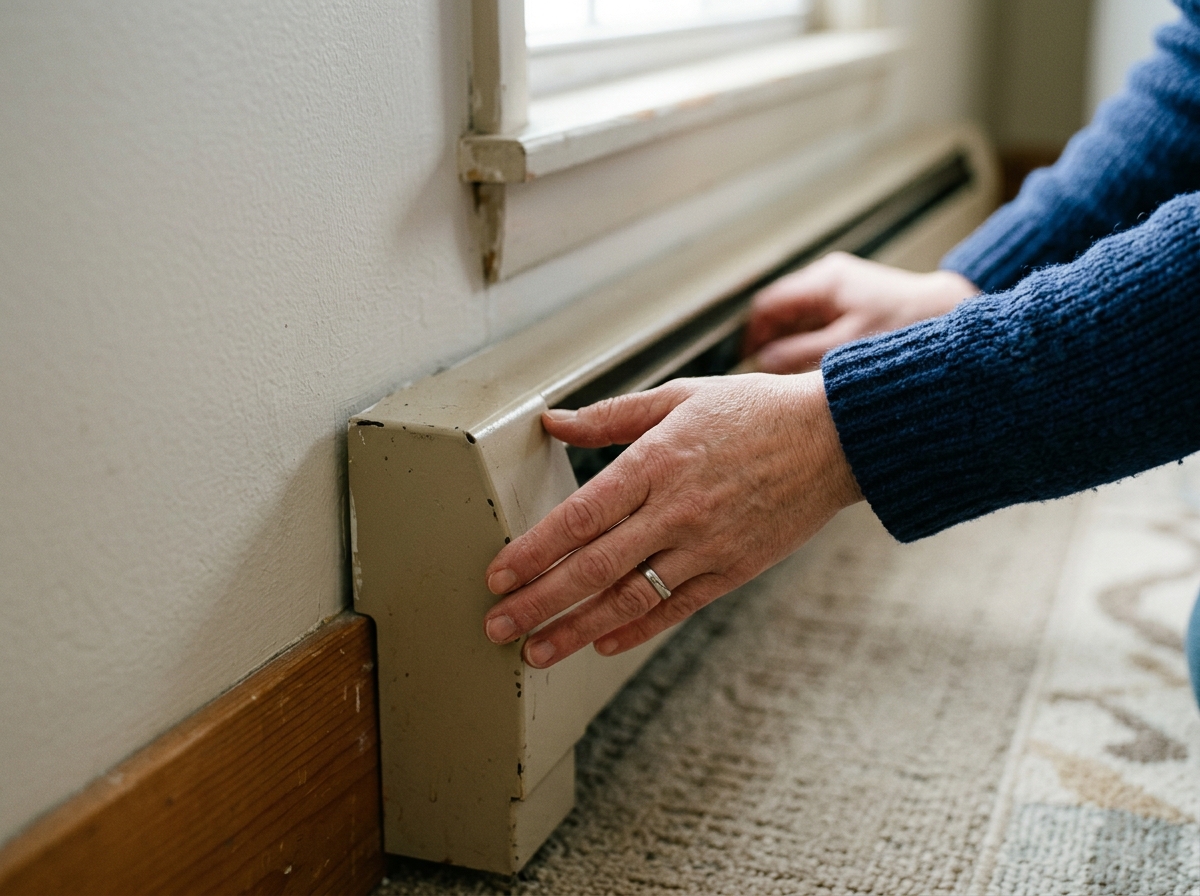
Baseboard Heater Covers: Style Options Compared
Clearance and safety specs to check before buying
Before you shop by looks, check the numbers. Most baseboard heater manufacturers specify a minimum clearance of 1 to 2 inches at the bottom and sides for convection airflow, plus clear floor space in front so furniture and drapes don’t choke circulation. Block that gap and the unit works harder, runs hotter, and still underperforms. That’s a safety issue and an efficiency one, not just a fit question.
Cover
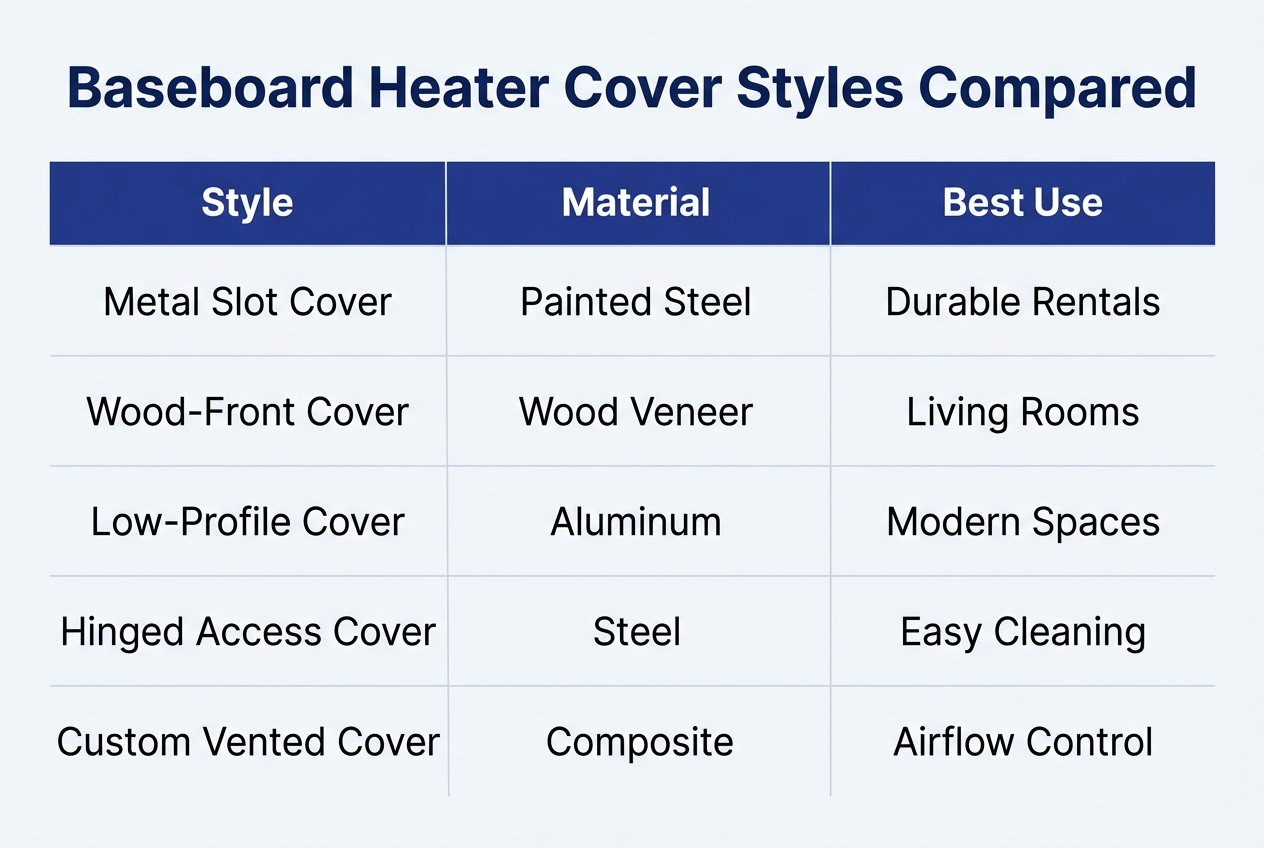
Here’s how the three common styles stack up on upfront cost, heat delivery, and upkeep. None of them touch what’s happening inside the wall, which matters more than the finish you pick.
| Cover Type | Typical Cost | Heat Output Impact | Maintenance | Fixes Wall Insulation/Air Leaks? |
|---|---|---|---|---|
| Stock metal cover | $30–$80 per section | Minimal, if louvers aren’t blocked | Wipe down, repaint if rusting | No |
| Decorative wood-look cover | $80–$200 per section | Can reduce output 5–15% if slats are tight | Dust buildup in grooves, occasional refinishing | No |
| Custom-built cover | $150–$400+ per section | Varies; engineered venting keeps loss low | Low, but harder to remove for repairs | No |
| No cover (unit exposed) | $0 | None | Easiest to clean and inspect | No |
Stock metal is cheap and functional; it’s what most rentals use. Wood-look covers cost more and look better in a living room, but tight slats can trap heat and stress the unit. Custom builds solve airflow problems with engineered venting, at a real price. None of these change what’s insulating, or failing to insulate, the wall cavity behind the heater — understanding home heating system basics alongside standard HVAC references makes that distinction clearer. A cover is trim, not treatment.
Sealing and Insulating the Wall Behind the Heater
Why cellulose outperforms batts in tight wall cavities
Before any insulation goes in, the gaps need closing. Air sealing targets the spots where heat actually escapes: baseboard trim lines, electrical penetrations behind outlets, and rim joists near exterior walls where the house frame meets the foundation. These are small cracks, individually. Add them up along one exterior wall and you’ve got the equivalent of a window left cracked all winter.
Once the wall is sealed, insulation does the rest. A wall cavity behind a heater is an odd shape, crowded with wiring, outlet boxes, and framing members that don’t leave much open space. Batt insulation gets cut and stuffed around those obstacles, and it almost always leaves gaps, compression marks, or voids where air slips through anyway. Dense-pack blown in cellulose insulation is different: it’s installed under pressure, so it settles into every irregular corner, flows around wiring, and packs tight against the box edges instead of leaving a gap behind them. That raises the cavity’s R-value and cuts down how hard the heater has to work just to keep up.
Here’s the blunt version: batts installed around obstacles are a guess. Dense-pack cellulose is a fill. Depth and R-value get checked after installation, not assumed from a bag count, so you get documented numbers instead of a hopeful estimate.
What a combustion-safety check adds if the home has gas appliances nearby
Tightening up a wall changes how air moves through the whole house, and that matters a lot if a gas furnace or water heater sits nearby. Sealed-up homes can alter draft patterns, and a water heater that stops venting properly is a real hazard, not a hypothetical one. A combustion-safety check confirms the appliance is still drawing air and exhausting correctly after the sealing work is done.
This isn’t a separate inspection tacked on for paperwork’s sake. It’s standard practice anywhere air sealing happens near fuel-burning equipment, and it follows the same logic behind contacts and reporting that come with every assessment: nothing gets left to chance. If you’ve got a furnace in a closet a few feet from the wall you just sealed, don’t skip this step. It’s quick, and it’s the difference between a safe home and a quiet problem building behind drywall.
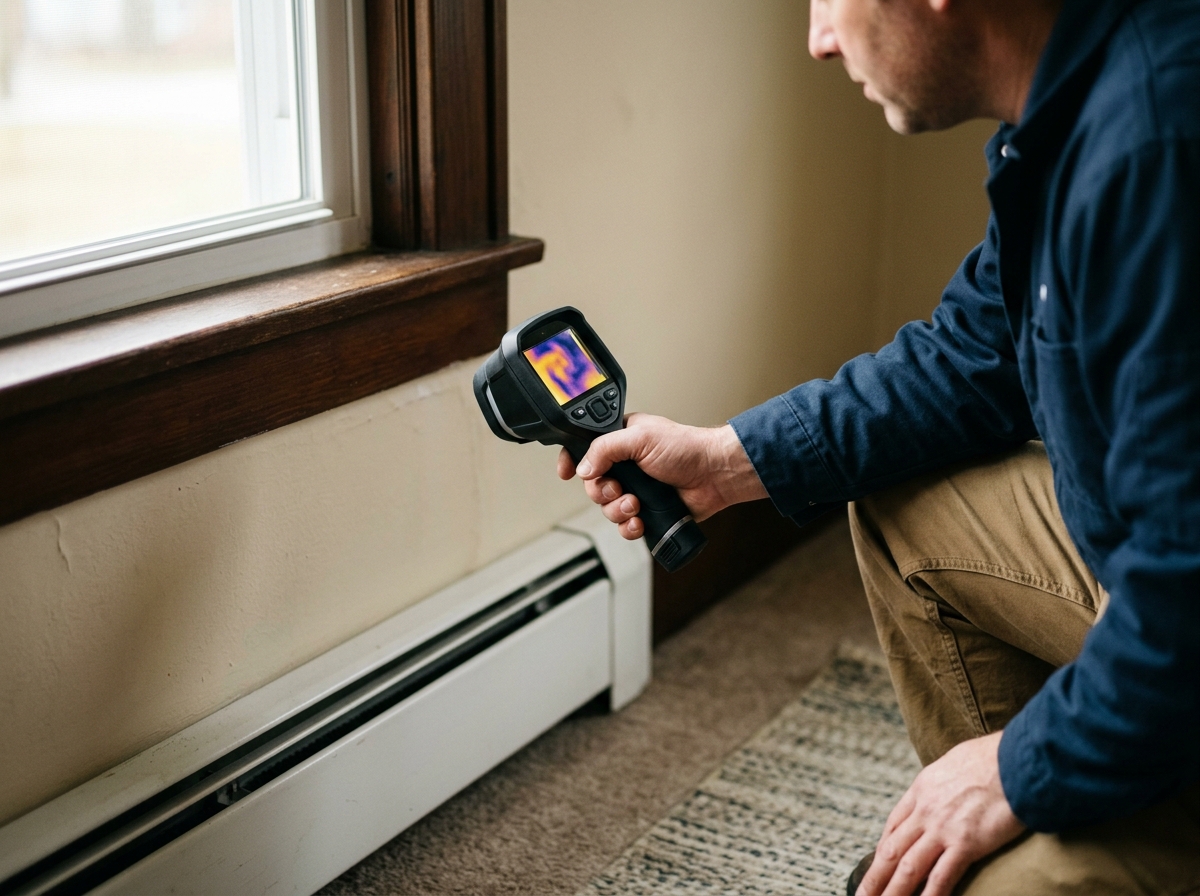
DIY Steps to Prep a Baseboard Heater Before Installing a Cover
Signs the problem is bigger than the cover
A new cover won’t fix a draft. If the floor near the unit feels cold even when the heater’s running hot, that’s air moving through the wall cavity behind it, not a cosmetic issue a panel can solve. Same goes for a persistent musty smell, visible gaps where the baseboard meets flooring, or one room that just never catches up to the thermostat. Those are structural signs, and no amount of polishing the cover changes them.
Turn off power at the breaker before removing an old cover
Baseboard heaters run on 240 volts in most homes, which is not something to guess about. Flip the breaker, then test the unit with a non-contact voltage tester before you touch anything inside.
Vacuum fins and check for bent components that block airflow
Dust buildup on the heating element is one of the most common reasons a baseboard unit underperforms. A shop vac with a brush attachment clears most of it; bent fins need a gentle straighten with a fin comb or flat tool.
Caulk visible gaps at the floor and wall junction as a temporary measure
This buys you time, not a cure. A few tubes of caulk won’t match what professional duct sealing and wall-cavity air sealing accomplish, but it stops the worst drafts until a proper fix happens. Before you reach for the caulk gun, run through this quick prep list:
- Clear furniture, rugs, and curtains away from the unit so you have full access to the baseboard and the wall behind it.
- Check that the cover’s mounting clips or brackets aren’t rusted or cracked, since a loose cover rattles and can block fin airflow.
- Inspect insulation visible through any gaps for staining or compression, both signs that moisture or past leakage have already done damage.
- Photograph problem spots before sealing anything, so a technician can see exactly what you found during a later visit.
- Test nearby outlets and switches for drafts too, since wall cavities often share the same leakage path as the baseboard channel.
Note persistent drafts or cold spots to mention during a professional energy assessment
Keep a simple log: room, time of day, how cold it feels, whether the heater was running. That detail speeds up diagnosis once a home energy assessment brings in a blower door and thermal camera.
Reinstall or replace the cover only after confirming clearance specs
Manufacturers specify minimum clearance from flooring, curtains, and furniture for a reason: airflow and fire safety both depend on it. Check the spec sheet, not just the old cover’s dimensions, before you bolt anything back into place.
Covers, Air Sealing, or Both: Choosing the Right Fix
When to call an energy assessor instead of a hardware store
A new cover is a trim decision. A cold room is an energy decision. Mixing the two up is how homeowners spend money twice and still shiver. If the heater runs constantly and the electricity bill too high complaint keeps showing up each winter, the cover was never the problem to begin with.
If the room is drafty and the bill keeps climbing, air sealing and insulation address the cause, not just the symptom sitting against the wall. But if the only issue is a cracked grille, exposed heating element, or a toddler who keeps touching it, a new cover alone may genuinely solve it. No assessment needed for that.
Here’s a quick gut check. These scenarios usually mean the wall itself needs attention, not the hardware bolted to it:
- A room on an exterior wall that stays noticeably colder than interior rooms, even with the heater cranked up for hours.
- Uneven temperatures across the house, where one end feels fine and another never catches up to the thermostat setting.
- A musty or dusty smell near the unit, often a sign of air pulling in from a wall cavity, crawl space, or attic gap.
- High heating bills despite a fully functional heater, suggesting the heat is escaping faster than it’s being produced.
Any of those, and it’s worth getting the wall checked before buying hardware.
How a Home Energy Assessment Diagnoses Baseboard Heating Problems
Before anyone touches a cover or a panel, a proper assessment tells you where the heat is actually going. A blower door test depressurizes the whole house and measures total air leakage, including the gaps around baseboard-heated rooms that quietly bleed warmth all winter. If the home mixes central duct-based heating with baseboard zones, a duct blaster test runs too, isolating how much air the duct system itself is losing before it ever reaches a register. Thermal imaging then pinpoints the exact cold sections of wall behind the heater, the spots you’d never find by hand. No guessing. Just numbers and a picture.
Here’s how each diagnostic step fits into the bigger picture, and what it actually tells a technician:
| Diagnostic Step | What It Measures | Why It Matters for Baseboard Rooms |
|---|---|---|
| Blower door test | Total home air leakage (CFM50) | Flags whole-house drafts pulling heat from baseboard zones |
| Duct blaster test | Duct leakage, supply/return pressure | Applies only where ducted heat mixes with baseboard units |
| Thermal imaging scan | Surface temperature differences on walls/floors | Locates the exact cold section behind the heater |
| Attic R-value check | Current insulation depth and coverage | Shows if heat is escaping upward, not just sideways |
| Combustion safety check | Draft performance of water heaters/furnaces | Confirms sealing hasn’t backdrafted nearby combustion equipment |
What the post-test verification report shows
The report compares before-and-after numbers from the blower door and duct blaster retests, so you see real leakage reduction, not a sales pitch. It also maps out a custom action plan, prioritizing air sealing and cellulose insulation wherever it recovers the most energy per dollar spent. For homes with duct losses specifically, duct sealing numbers show up as their own line item, separate from wall and attic gains.
How utility programs can cover most or all of the cost for qualifying homes
Rebate paperwork through programs like Entergy, CLECO, and Atmos Energy gets handled on the homeowner’s behalf, start to finish. For income-eligible households, that often means little to no out-of-pocket cost. Worth asking about before you assume you can’t afford it.
Getting Baseboard Heater Cover Decisions Right in Elmwood and Beyond
Scheduling an assessment before your next heating season
Don’t wait until the first cold snap to figure out why a room won’t hold heat. A dedicated provider serving homeowners across Louisiana and Mississippi sends BPI-certified Building Analyst Professionals who look behind the cover, not just at it. These are the same credentials utility programs require before covering most or all of an eligible project’s cost. That matters more than it sounds like it should.
Booking is simple. Most appointments take under five minutes to set, and the crew shows up on time, wears shoe covers indoors, and cleans up like they were never there. The office sits at 1500 Edwards Ave Suite J, Elmwood, LA 70123, and you can reach the team at +1 (504) 305-3276 by call or text, whichever’s easier for you. Reviews tend to circle back to the same three things: efficiency, solid job quality, and communication that doesn’t feel like pulling teeth.
Before you drop money on a new cover or trim kit, get the diagnostics done first. Comprehensive energy assessments use blower-door testing and thermal imaging to show exactly where heat is escaping, so you’re not guessing. Sometimes the fix is sealing, sometimes it’s insulation, sometimes it’s both. A cover alone rarely moves the needle. Spend first on finding the leak, then on hardware. That order saves money.
Before settling on an approach, it helps to ask what’s actually driving the discomfort or the high bills—drafty doors, air leaking past window trim, or insulation that’s thin and uneven matter more to the outcome than any single product name. A blower-door number and a thermal scan tend to answer that question more honestly than guesswork, and they point toward whether air sealing and a properly verified fill of cellulose will close the gap. Whatever direction a homeowner leans, it’s worth weighing measured results over assumptions, and keeping an eye on which upgrades actually qualify for rebate paperwork before committing.
