


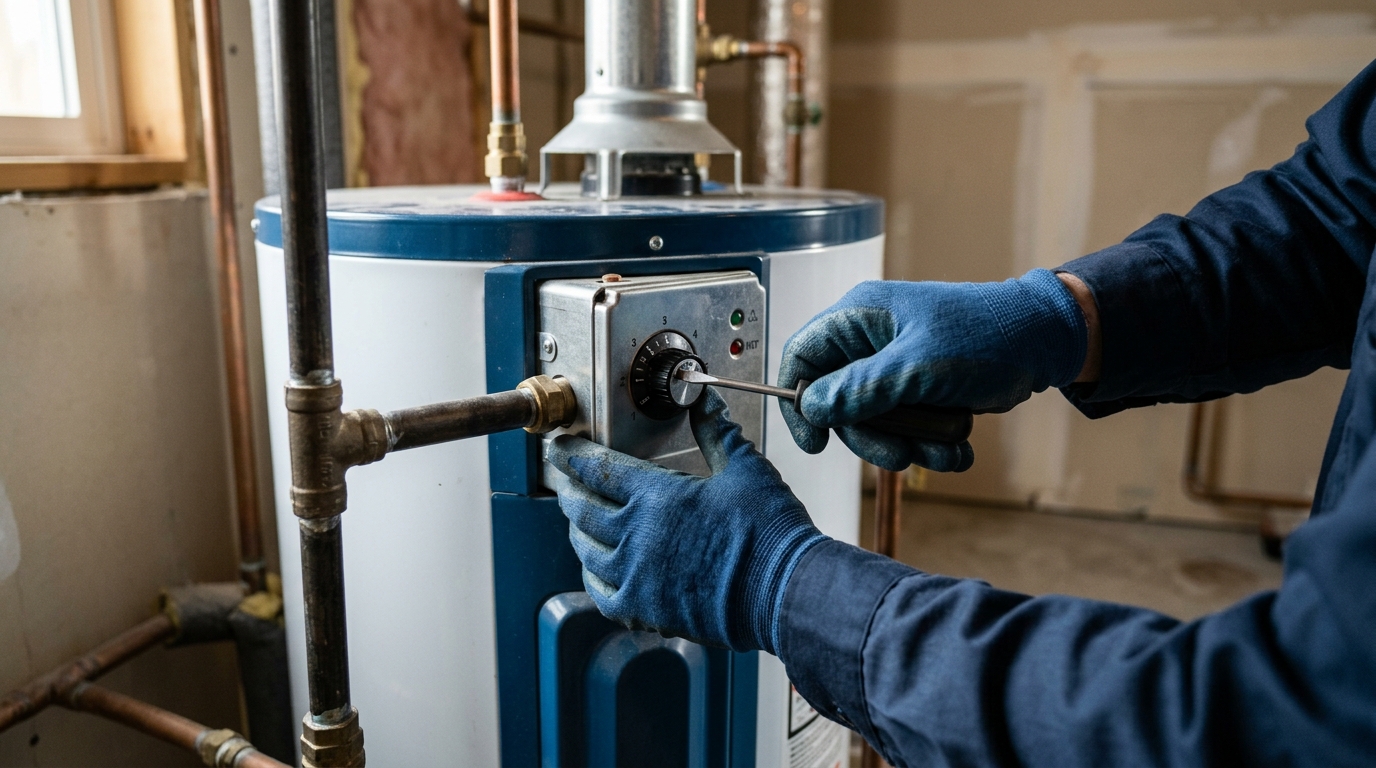
Cold showers, a water heater that runs nonstop, or a bill that keeps creeping upward usually point to one overlooked part reaching the end of its life. Before you spend hundreds on a full unit swap, it helps to know that a water heater thermostat replacement is often the simpler, cheaper fix homeowners miss. This 2026 guide from Big Star Conservation INC. covers the warning signs, how a thermostat fault differs from other problems, and what a safe professional replacement looks like.
Understanding Your Water Heater’s Thermostat
How Thermostats Regulate Water Temperature
A water heater thermostat works like a switch. It senses the water temperature inside the tank, then tells the heating element or burner to turn on or off. That keeps water at the setting you pick, usually between 120 and 140 degrees Fahrenheit. When the thermostat wears out, temperatures swing too high or too low. That wastes energy and risks scalds.
Mineral buildup and corrosion, over time, throw off how well the thermostat reads temperature. A bad reading means the unit runs longer than it should. That extra runtime adds up. Given the cost of electricity in louisiana, a poorly calibrated thermostat can quietly raise monthly bills with no obvious cause.
Electric vs. Gas Thermostat Differences
Electric water heaters use one or two thermostats mounted against the tank wall, wired directly to the heating elements. They control voltage flow through precise on-off cycling. Gas water heaters use a single thermostat built into the gas control valve instead. It opens and closes a valve to control gas flow to the burner, rather than managing electrical current.
Because gas thermostats pack several functions into one valve assembly, replacing one often means swapping the whole control unit. Electric thermostats are simpler, smaller parts that snap or bolt into place. This difference affects repair cost, replacement time, and the skill level each system demands.
Upper vs. Lower Thermostat Roles in Electric Tanks
Most electric water heaters run two thermostats as a team. The upper one controls the top heating element and handles the initial heat-up. The lower one controls the bottom element and keeps temperature steady during regular use. They rarely fire at the same time, which keeps the circuit from overloading.
If the upper thermostat fails, the whole tank may stop heating. A weak lower thermostat causes lukewarm water even after a hot start. Understanding this two-part system helps homeowners diagnose problems accurately — much like proper air sealing improves home efficiency by fixing each weak point on its own.
Signs You Need a Water Heater Thermostat Replacement
Water Temperature Fluctuations
A failing thermostat often causes water that swings from hot to cold in the same shower. This happens once the sensor can no longer read tank temperature correctly. You might also notice the water heater working overtime, similar to problems homeowners see with poor benefits of insulating your attic when heat escapes unevenly. Inconsistent temperature is usually the first warning sign.
No Hot Water or Lukewarm Water
When water never gets hot, or stays lukewarm no matter how long you wait, the thermostat may have failed outright. This is one of the clearest signs of trouble. Before you assume the worst, check these common clues:
- The water heater runs constantly but never reaches a comfortable temperature.
- Hot water runs out much faster than it used to, even with normal usage.
- The tank feels warm on top but cool near the bottom, suggesting uneven heating.
- Adjusting the thermostat dial produces no noticeable change in water temperature.
Strange Noises or Frequent Breaker Trips
Popping, clicking, or humming sounds can mean a thermostat is struggling to regulate heat properly. A tripped breaker is another red flag, since a faulty thermostat can overload the circuit. Frequent breaker trips should never be ignored. Solid home upgrades, including quality attic insulation, can ease the strain on heating systems overall. If these symptoms keep showing up, it’s time to look closely at the thermostat.
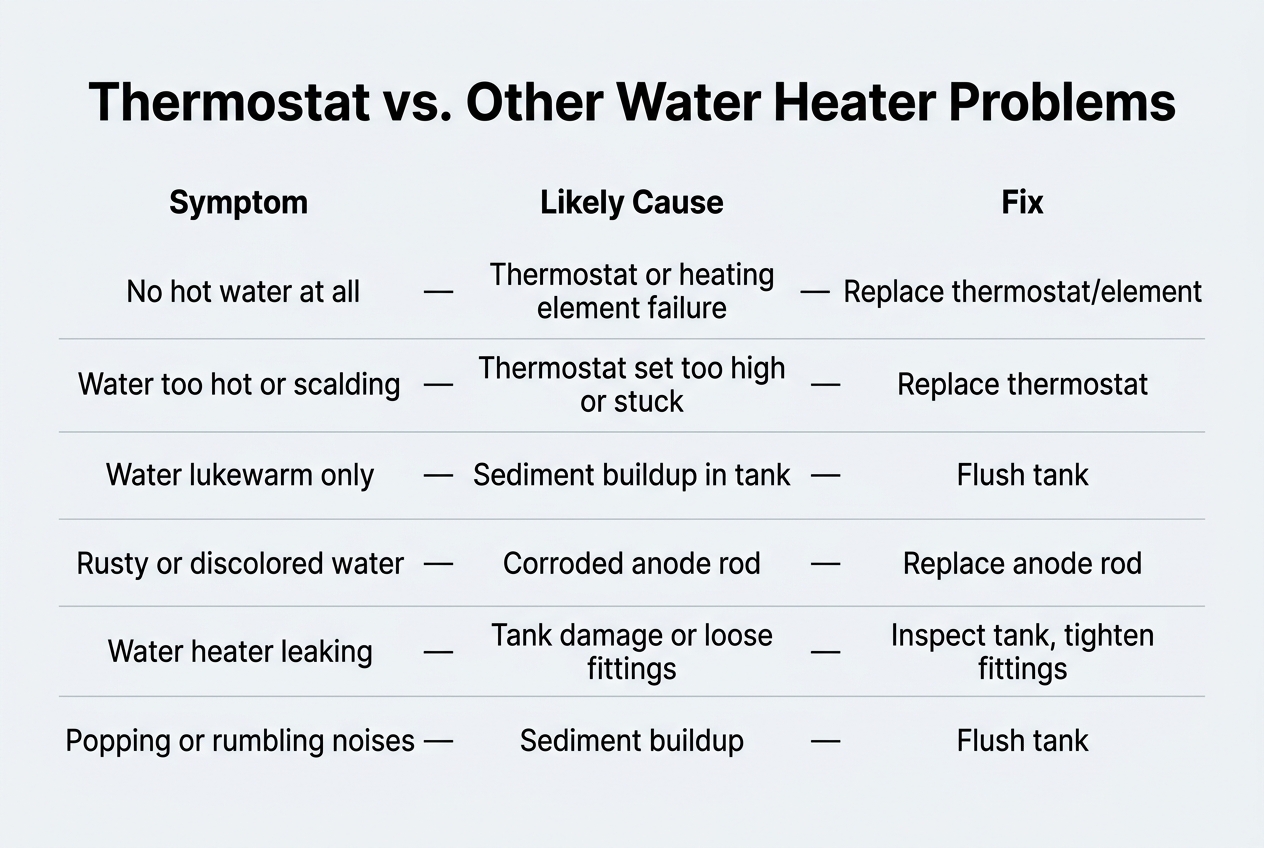
Thermostat vs. Other Water Heater Problems
Many water heater problems mimic each other. Cold water, lukewarm showers, or a spiking electricity bill too high for no clear reason can trace back to several different causes. The table below breaks down the key differences and what a technician checks for each, so you can narrow down the real issue before paying for parts.
| Problem | Common Symptom | What a Technician Checks | Likely Fix |
|---|---|---|---|
| Faulty thermostat | Water too hot or too cold, inconsistent temperature | Compares the thermostat setting with the actual water temperature | Replace thermostat |
| Bad heating element | No hot water at all, or very slow reheating | Tests element resistance with a multimeter, power off | Replace element |
| Sediment buildup | Rumbling noises, reduced hot water volume | Drains a few gallons and checks for grit or discoloration | Flush the tank |
| Thermocouple issue (gas units) | Pilot light won’t stay lit | Watches the pilot flame and checks the thermocouple connection | Replace thermocouple |
Thermostat Failure vs. Heating Element Failure
A broken thermostat usually causes uneven temperatures. A dead heating element usually means no hot water at all. A technician tests each part separately with a multimeter to confirm which one failed.
Thermostat Failure vs. Sediment Buildup
Sediment insulates the heating element, so the thermostat has to work harder than it should. That can look exactly like a thermostat problem. Drain the tank first to rule out sediment as the real cause.
Thermostat Failure vs. Gas Thermocouple Issues
On gas units, a failing thermocouple cuts gas flow entirely and kills the pilot light. A thermostat problem, by contrast, still lets the pilot burn normally. Once a technician confirms the diagnosis, they can match the replacement part to your model.
What the Job Involves
Tools and Safety Gear a Technician Uses
A thermostat replacement calls for a voltage tester to confirm the circuit is de-energized, screwdrivers to remove the access panel and insulation, insulated gloves and safety glasses, a multimeter to check the old and new thermostat, and sometimes a hose and bucket to drain some water. Electric water heaters run on 240-volt circuits, and gas models build the thermostat into the gas control valve, so this is work for a licensed plumber or qualified water heater technician.
Choosing the Correct Replacement Thermostat
The new part has to match the tank’s voltage, wattage, and mounting style. If the unit shows signs of a shorted element, the technician may replace the thermostat and the heating element together.
Estimated Costs and Time Required
Parts typically run $15 to $40. A technician usually needs 45 to 90 minutes of hands-on work, plus time for the tank to cool.
Tank vs. Tankless Thermostat Considerations
Traditional Tank Thermostat Basics
Most storage tank units use one or two simple mechanical or electric thermostats bolted against the tank wall. These parts control the heating elements or a gas valve directly. A small wiring slip during a swap can turn into a bigger plumbing headache, which is one more reason to leave the job to a pro.
Tankless Unit Control Boards and Sensors
Tankless systems work differently. There’s no single thermostat dial. Instead, a circuit board reads flow sensors and inlet temperature to fire the burner or elements instantly. Replacing a faulty sensor usually means ordering a specific board model, not a universal part.
| Feature | Tank System | Tankless System |
|---|---|---|
| Control type | Mechanical/electric thermostat | Digital control board |
| Sensors involved | 1-2 thermostats | Flow + temperature sensors |
| Average part cost | $15-$40 | $150-$400 |
| Typical repair time | 30-60 minutes | 1-2 hours |
Choosing the Right Replacement for Your System
Check your unit’s nameplate for the exact model number, which a technician will need to order the right part.
What a Professional Thermostat Replacement Looks Like
Shutting Off Power or Gas
On an electric unit, the technician cuts power at the dedicated breaker and confirms with a voltage tester that the wires are dead before touching anything. On a gas water heater, the thermostat is part of the gas control valve, so replacing it is gas work: the gas is shut off and the tank allowed to cool first. Work on a gas control valve should only be done by a licensed professional.
Removing the Old Thermostat and Rewiring the New One
With power confirmed off, the access panel, insulation, and plastic guard come off to expose the thermostat. The technician records the wire placement before disconnecting anything, then works through these steps:
| Step | Action | Key Detail |
|---|---|---|
| 1 | Detach wires | Label each terminal connection |
| 2 | Remove old thermostat | Unclip from mounting bracket |
| 3 | Insert new thermostat | Match model and voltage rating |
| 4 | Reconnect wiring | Follow original layout exactly |
| 5 | Set temperature | 120°F is the common safe setting |
Snug wire connections prevent arcing and future failures.
Reassembling Insulation, Covers, and Restoring Power
The foam insulation, plastic guard, and metal access panel go back in their original spots before power or gas is restored, and the first heating cycle is watched for leaks or odd sounds. Homeowners who hand over personal data through online scheduling tools should review a provider’s privacy policy first.
Testing and Verifying Your New Thermostat
Checking Temperature Settings Accurately
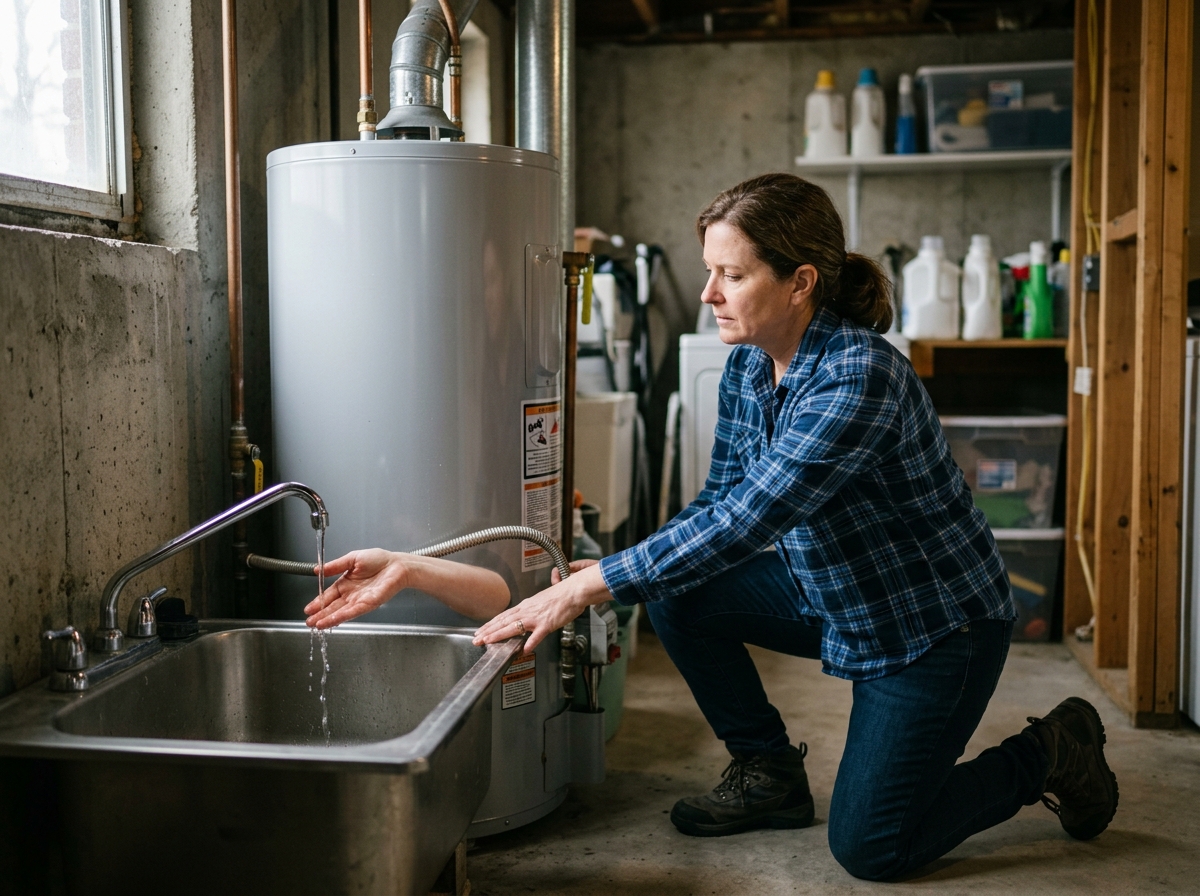
The thermostat should be set to 120 degrees Fahrenheit, the safest range for most households. On electric models the dials sit behind access panels next to live wiring, so let the technician set them. You can confirm the result with an appliance thermometer at the tap. A gap of more than 10 degrees means something’s off.
The technician should check both the upper and lower thermostats if your tank has two. Accurate calibration prevents scalding and wasted energy.
Monitoring Performance Over the First 24 Hours
Watch the tank closely for the first day. Check for leaks near the thermostat housing and listen for odd popping or hissing sounds. These noises often point to sediment buildup or a loose connection.
Run hot water for five minutes, then let the tank reheat. Track how long recovery takes. A properly working thermostat cycles the heating element on and off smoothly — it shouldn’t run constantly. Consistent recovery time is a strong sign of correct installation.
Troubleshooting Post-Installation Issues
If water runs too hot or too cold after the repair, call the technician back. Loose wires are the most common cause of failure, and a tripped high-limit switch often means the thermostat wasn’t seated correctly against the tank wall.
Problems that don’t go away may point to a deeper electrical issue, best left to a licensed electrician or plumber. Catching issues early prevents callbacks and keeps your household safe.
Why to Hire a Licensed Professional
Why This Is a Job for a Licensed Pro
A thermostat swap can look simple, especially on an electric tank with accessible thermostats. It still means opening panels next to 240-volt wiring, and on a gas water heater it means replacing part of the gas control valve. A wiring mistake can leave water dangerously hot or cause a shock. Hire a licensed plumber or qualified water heater technician rather than doing it yourself.
Risks of Improper Installation
Electrical shock is the biggest danger with a badly wired thermostat. Loose connections can also cause overheating, tripped breakers, or scorched wiring inside the panel. A miswired thermostat may leave water dangerously hot, risking burns for kids or elderly residents.
Code violations are another real risk. Many jurisdictions require permits or licensed work on water heaters, especially gas units. Skipping this step can affect insurance claims later. A rushed improper installation often costs more to fix than the original repair would have.
Benefits of Professional Installation and Inspection
A licensed technician brings tested experience and the right tools to every job. They can spot corrosion, sediment buildup, or wiring issues you might miss. This safety-first inspection often catches problems before they turn into bigger failures.
Professional service also confirms code compliance and manufacturer warranty requirements. Many local businesses offer quick scheduling, and checking a provider’s contacts beforehand helps you compare experience and pricing with confidence.
Extending the Life of Your Water Heater After Replacement
Routine Maintenance and Sediment Flushing
A new thermostat works best in a clean tank. Sediment buildup makes the heating element work harder, which can trigger early thermostat failure. Flush your tank at least once a year to keep everything running smoothly.
- Drain a few gallons from the tank’s bottom valve every few months to check for cloudy or gritty water.
- Schedule a full flush once a year, more often if you have hard water.
- Inspect the anode rod every two to three years, since a worn rod speeds up corrosion.
- Check for rust or leaks near the thermostat housing during each inspection.
- Keep a simple log of maintenance dates so patterns in wear become easier to spot.
Optimal Temperature Settings for Efficiency and Safety
Set your thermostat to 120°F. This range balances safety, comfort, and energy efficiency. Higher settings waste energy and stress the heating components, often shortening thermostat life.
Insulating Tanks and Pipes for Better Performance
Insulation eases strain on your thermostat by limiting heat loss. Wrapping your tank and exposed pipes helps hold steady temperatures with less cycling. This simple step supports whole-home performance and lowers utility bills over time. For examples of completed insulation and efficiency upgrades, browse this portfolio of real home projects. If your thermostat does eventually fail, a licensed plumber can match and install the right replacement.
How Water Heater Efficiency Fits Into Whole-Home Energy Savings
Water Heating’s Share of Home Energy Bills
Water heating typically makes up 14% to 18% of a home’s total energy use. That puts it second only to heating and cooling. A faulty thermostat can quietly push that number higher. When it runs too hot, energy gets wasted every hour of the day. When it runs too cool, the unit struggles and cycles more often.
Small thermostat problems rarely stay small. A tank stuck at 160 degrees instead of 120 can add real dollars to monthly bills. Over a year, that adds up to a noticeable dent in household savings.
Signs Your Home Could Benefit from a Weatherization Assessment
If your water bills feel high but the thermostat checks out fine, other parts of the home may be leaking energy too. Drafty windows, thin attic insulation, and leaky ductwork all strain your system. Combined with an aging water heater, these issues add up fast.
A whole-home look often turns up connected problems. For example, duct sealing can stop conditioned air from escaping unseen, much like a bad thermostat lets heat escape unnoticed. Both waste energy in ways homeowners rarely spot on their own.
Programs and Resources for Energy-Efficient Upgrades
Many utility companies offer rebates for efficient water heaters, smart thermostats, and insulation upgrades. A dedicated provider can walk homeowners through eligibility and paperwork, making upgrades more affordable.
Professional energy assessments show which upgrades matter most for your specific home. Instead of guessing, homeowners get a clear, prioritized plan for lasting savings.
So if the hot water has gone lukewarm or the tank keeps cycling at odd hours, a qualified plumber or appliance technician is the right person to test and swap that thermostat — it’s a small part with an outsized effect on comfort and monthly bills. Once it’s sorted, it’s worth thinking about the bigger picture: a gas water heater sharing a flue with other appliances benefits from a combustion safety check, something Big Star Conservation INC. handles, and the same energy assessment work can point to air sealing, duct sealing, or added insulation that keeps the heat you’re paying for from slipping away. Fixing the appliance solves today’s problem; tightening up the house around it is what keeps the savings coming.
